SuperCat Construction Pictures |
|
|
|
|
|
|
|
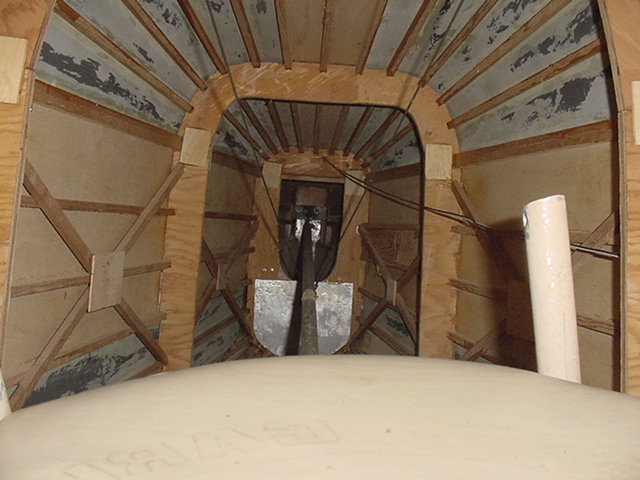
Looking aft down the fuselage from the cockpit. |
|
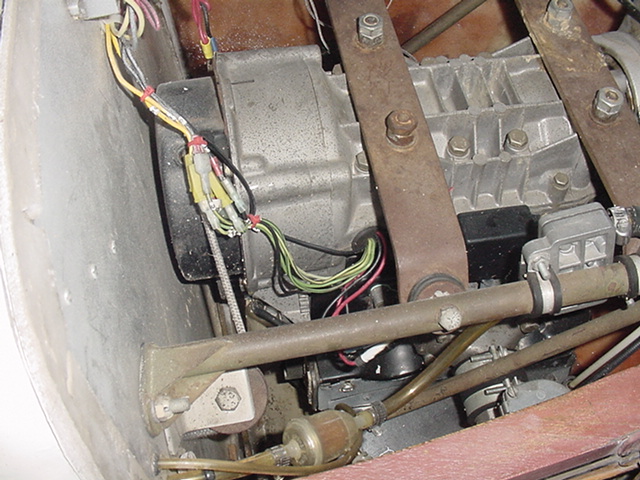
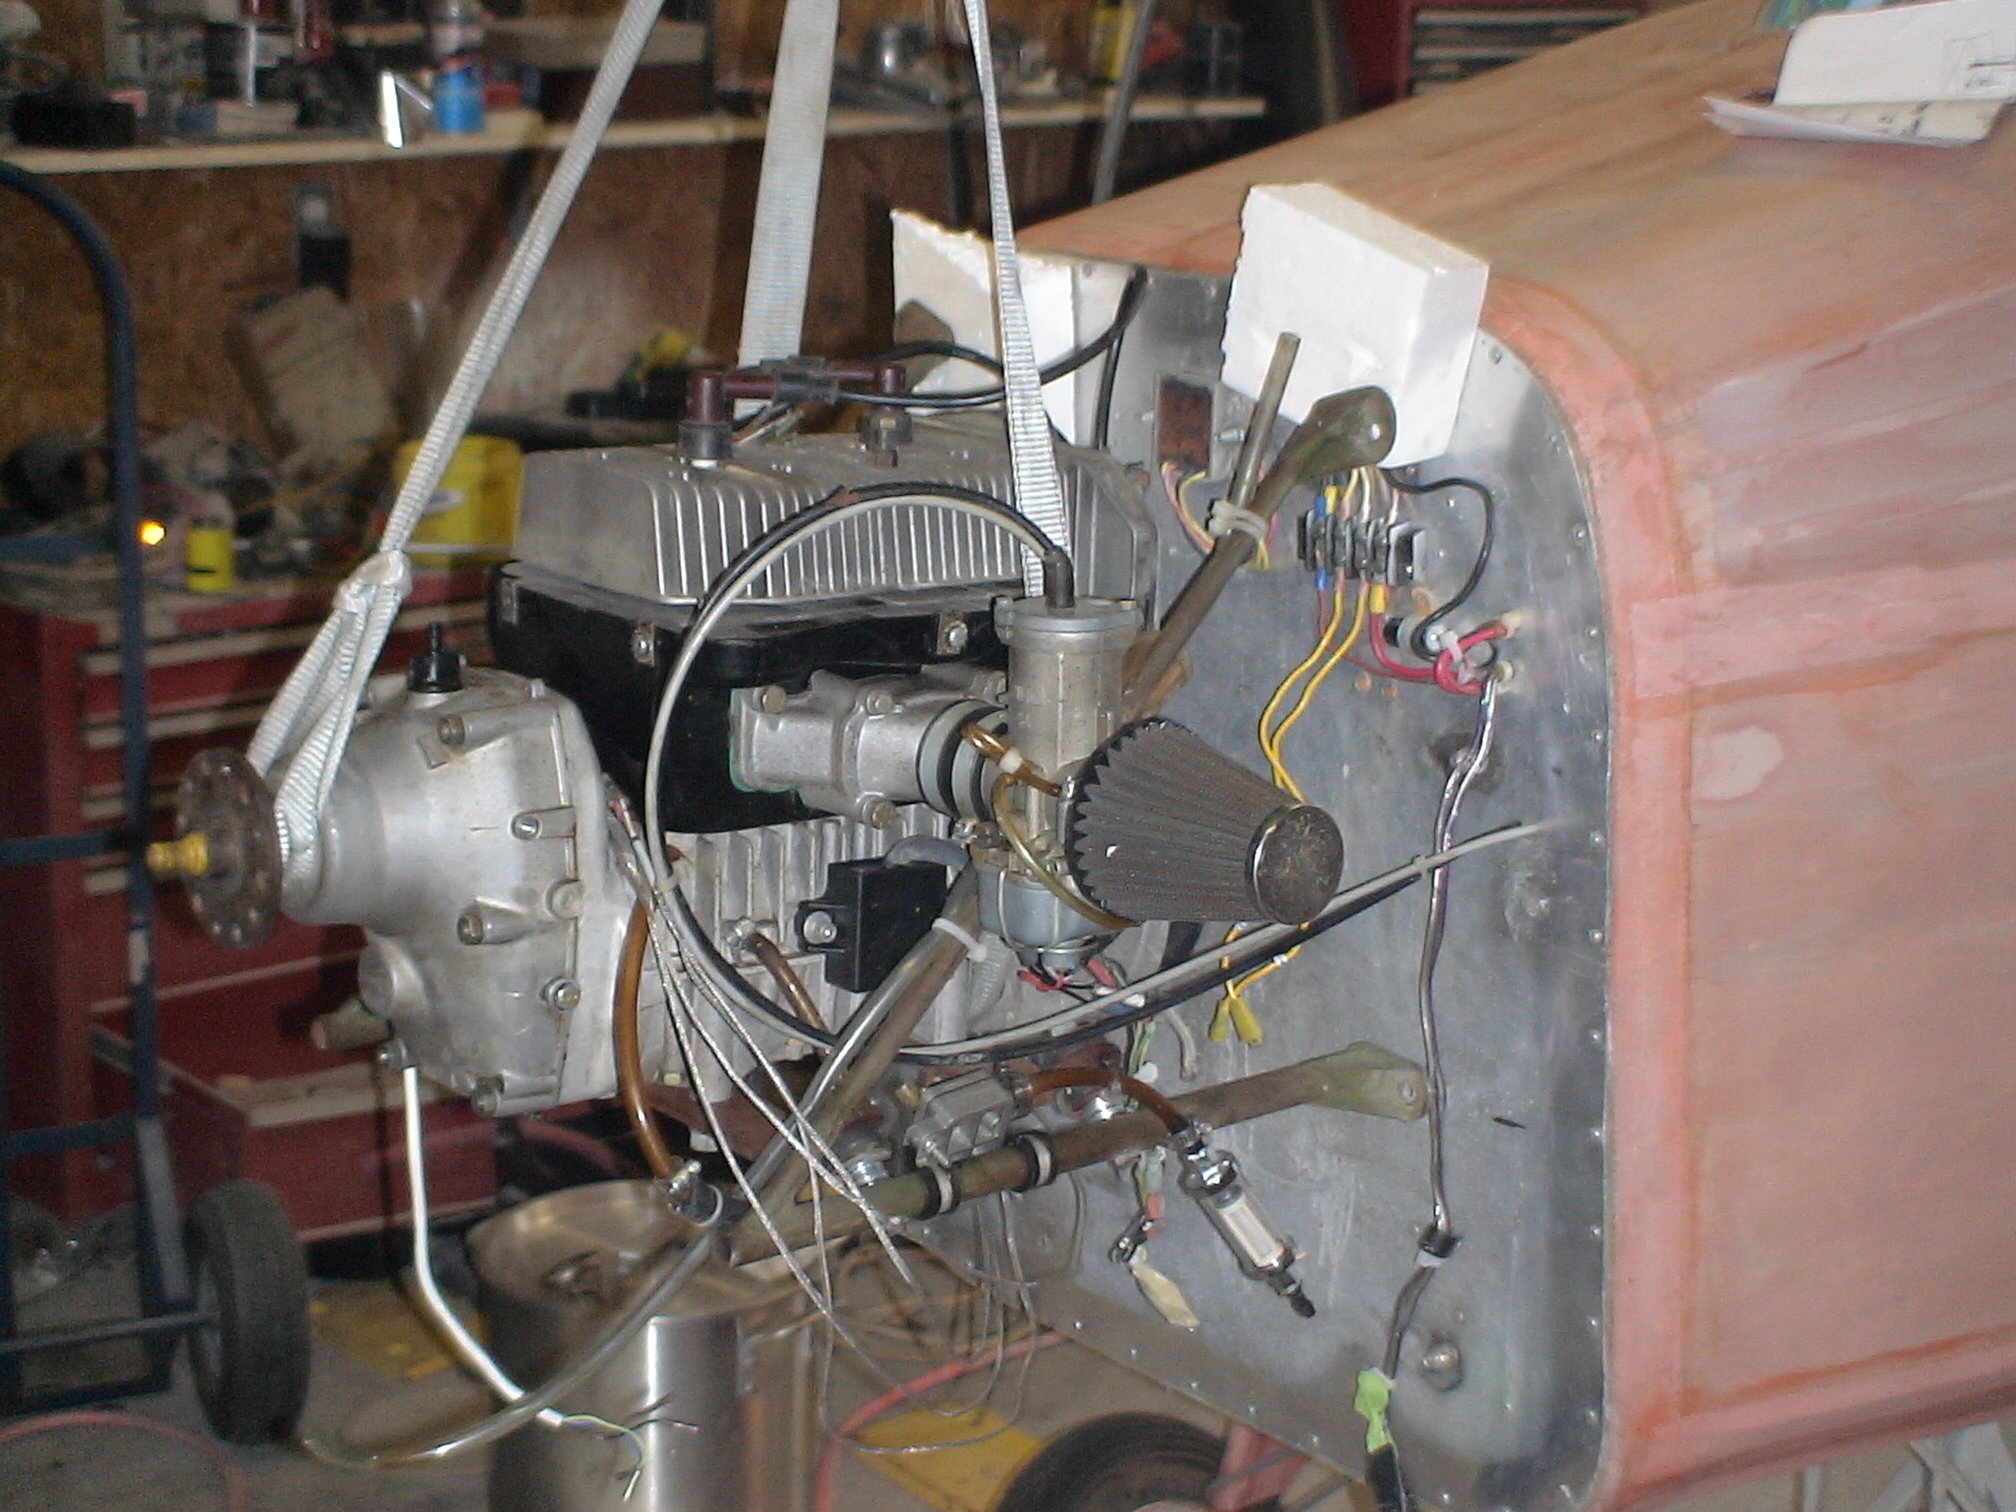
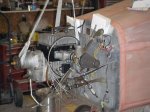
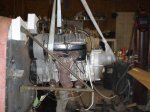
Looking down on the engine with the top cowl removed. |
|
Looking down on the front of the engine. |
|
Throttle and choke control on the left side of the cockpit. |
|
Pull starter on the right side of the cockpit under the instrument panel. |
|
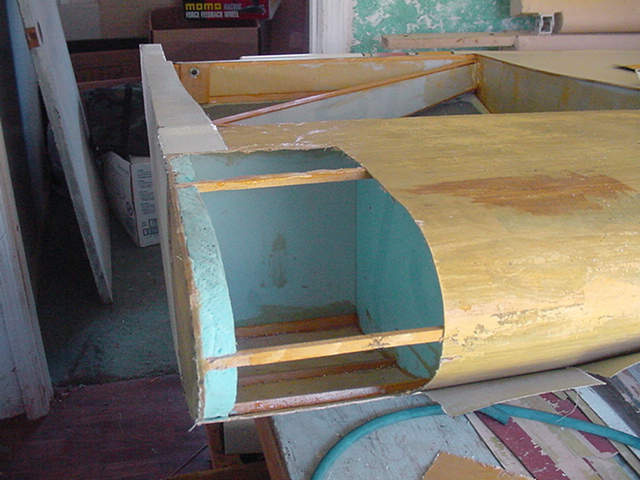
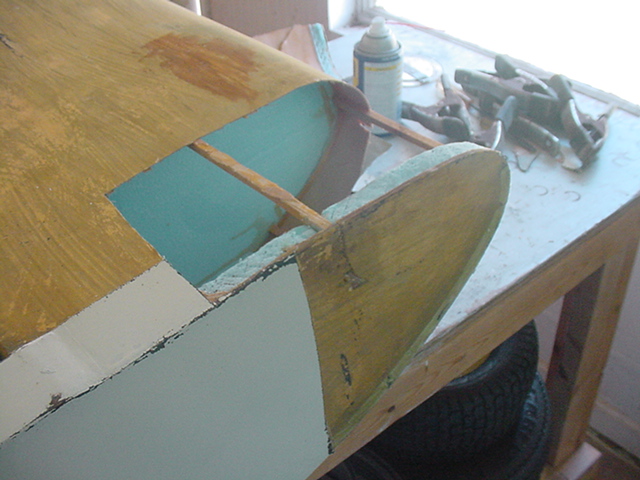
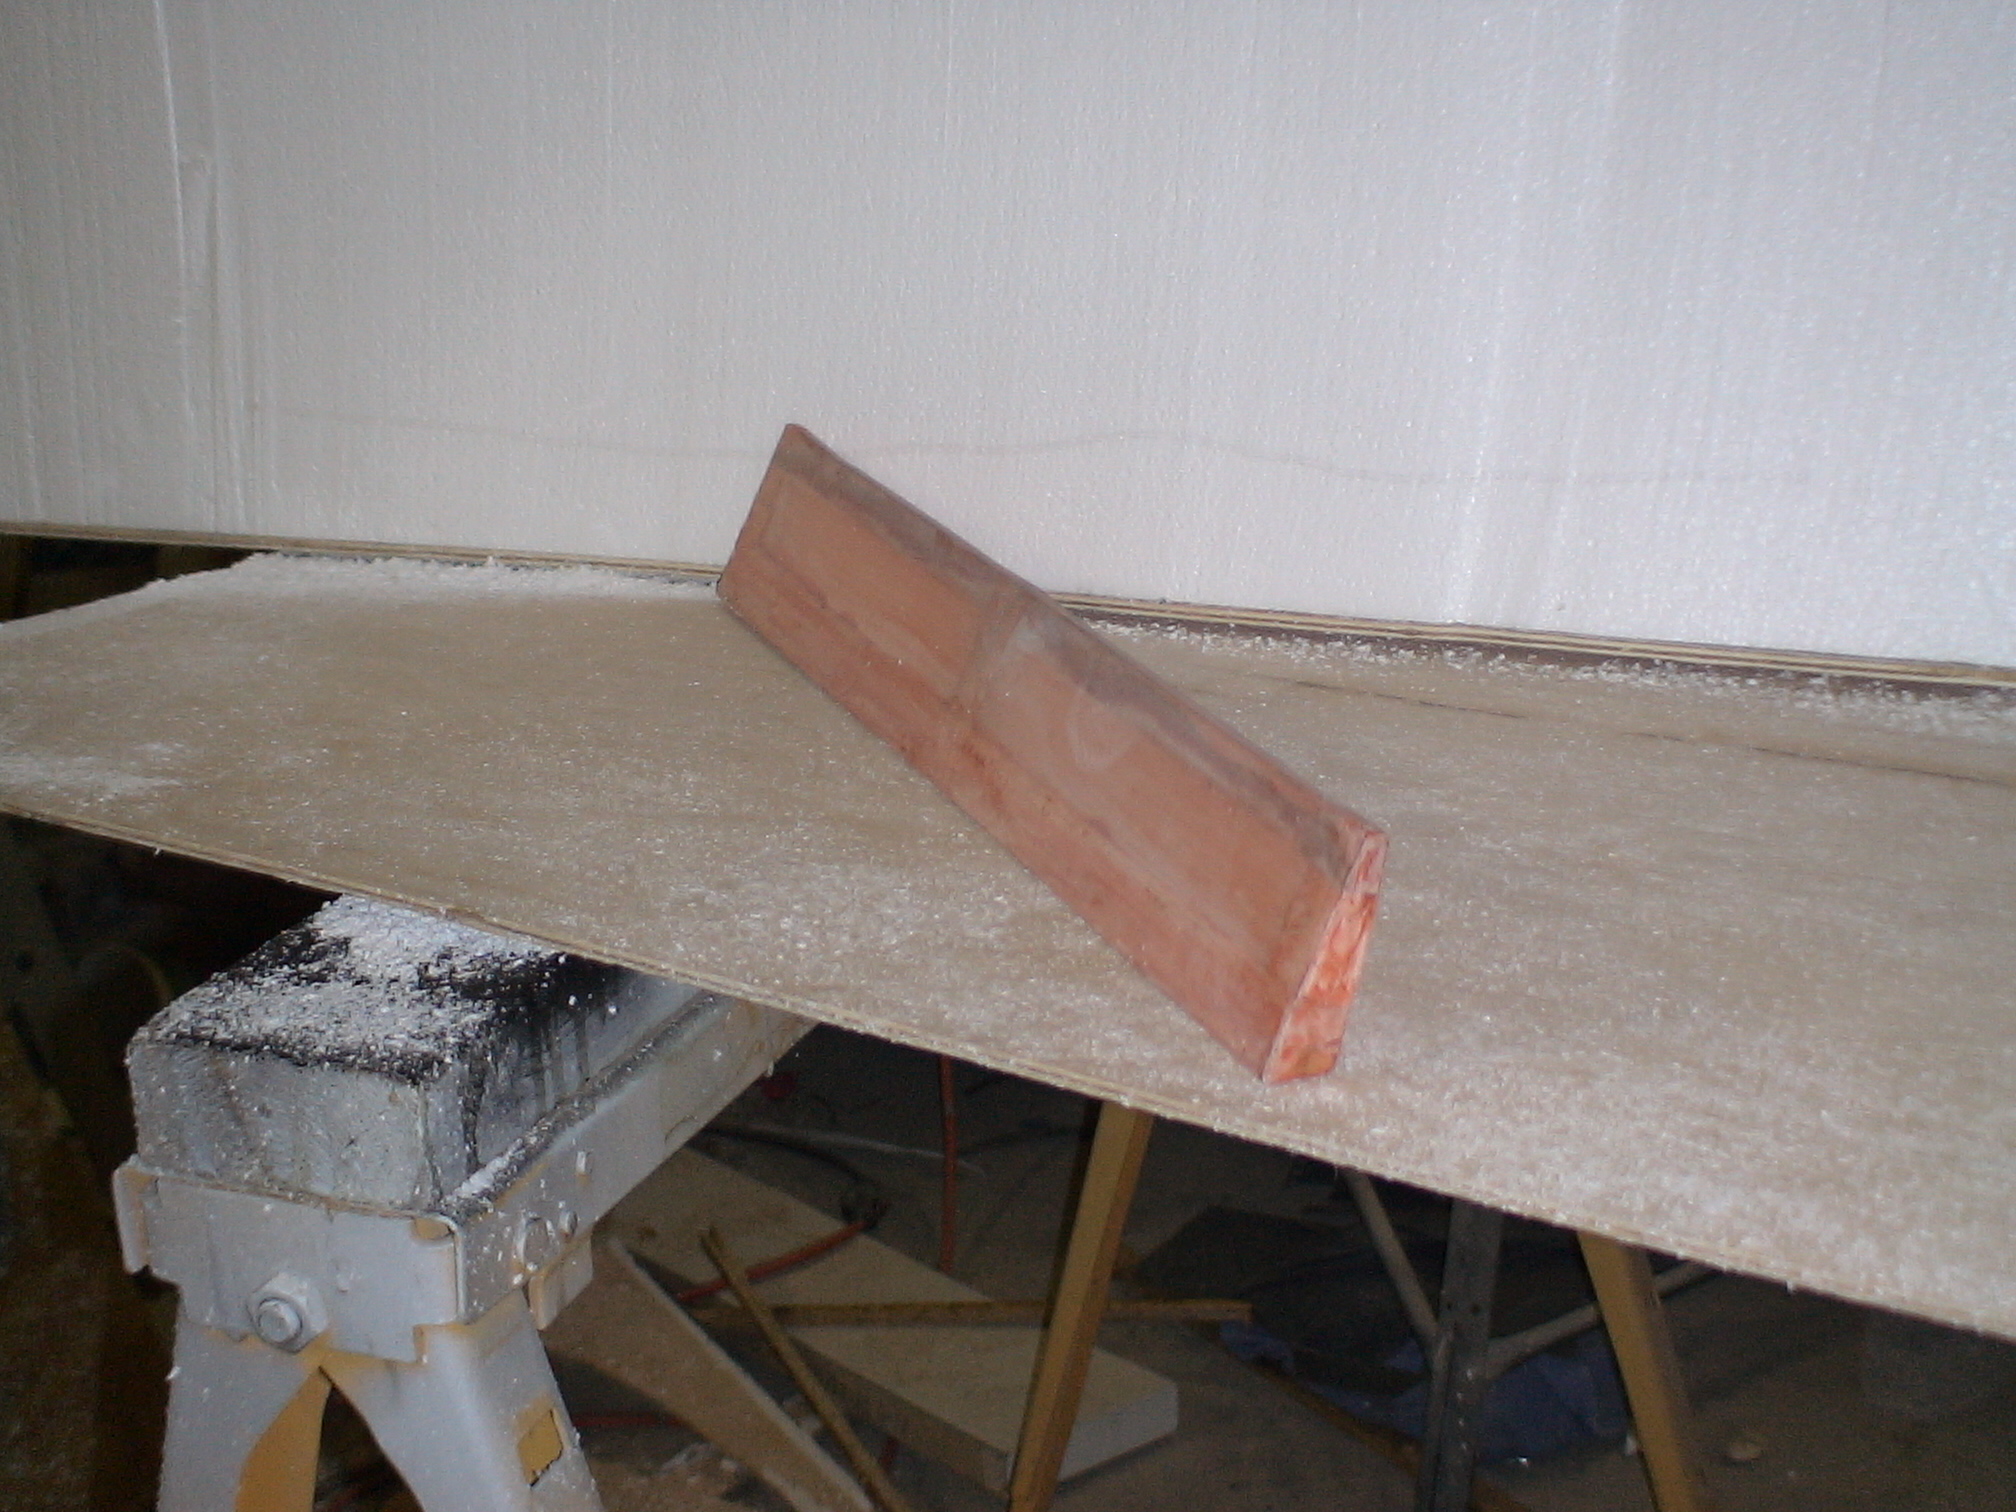
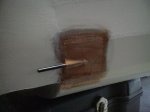
Repairs to the left wingtip.
The damage was hangar rash caused by bad storage.
|
|
|
|
|
|
|
Leading edge skin was cut away between the wing tip rib and the first leading edge rib inboard of the tip. |
|
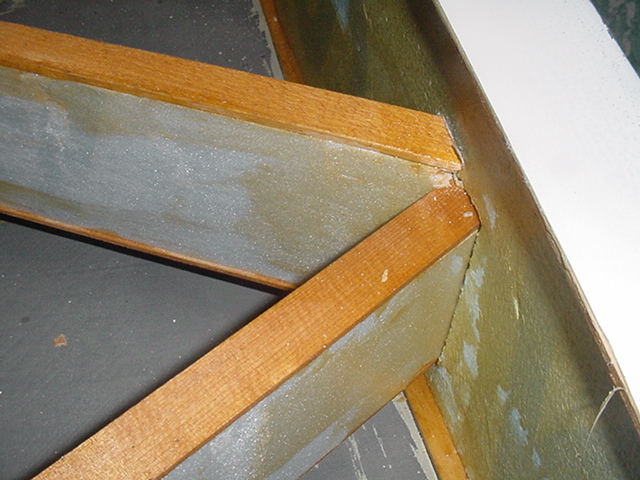
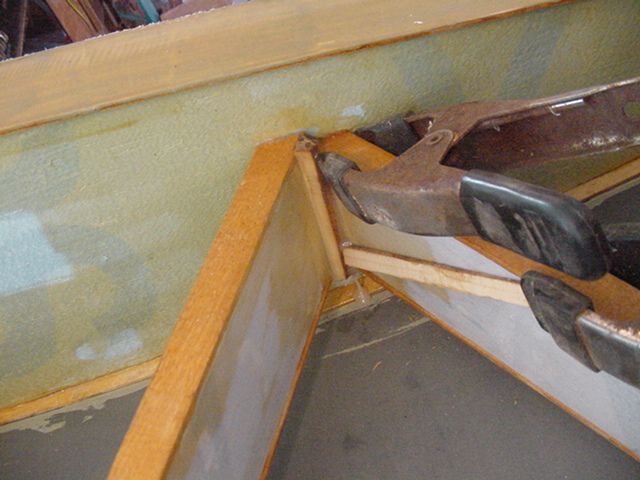
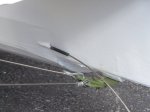
The drag braces at the wing tip rib were broken loose and had to be reglued in place. |
|
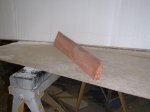
Here's the damaged leading edge skin and the double for the new skin being held in place. |
|
The drag braces at the wing tip rib glued, reinforced and clamped in place. |
|
New Instrument Panel Construction and Installation. |
|
|
|
|
|
Picture coming soon. |
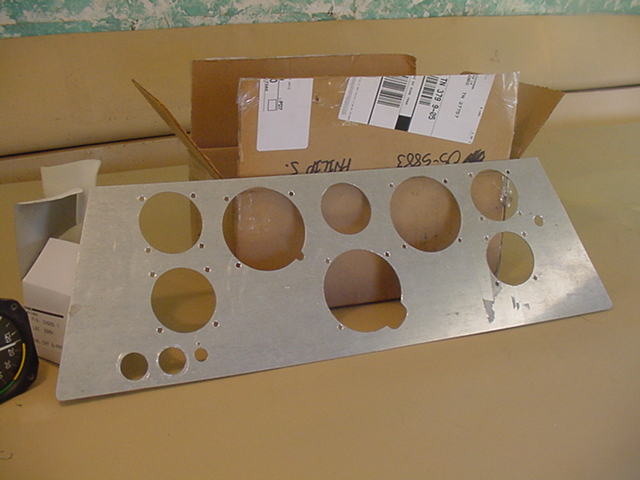
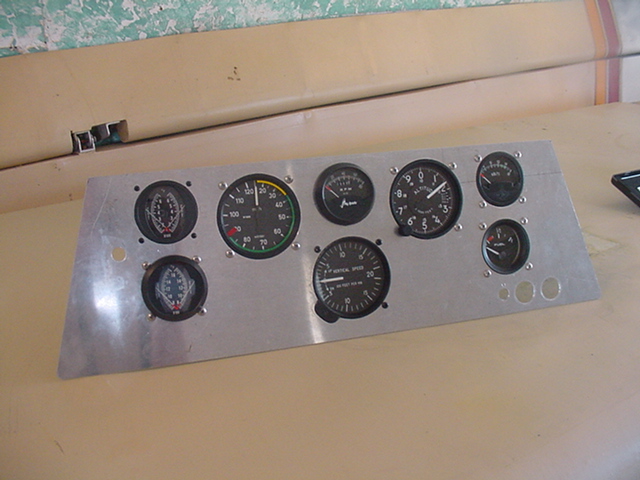
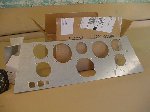
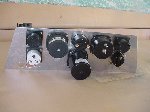
New panel cut and drilled for instruments and switches. |
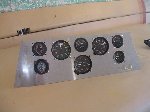
Test fitting instruments. |
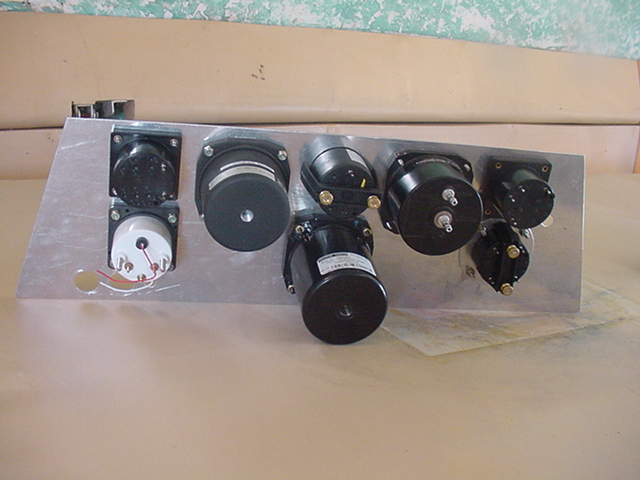
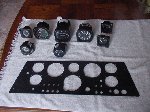
Rear view of instruments. |
Painted panel and instruments waiting for final installation. |
New instrument panel mounted in cockpit. |
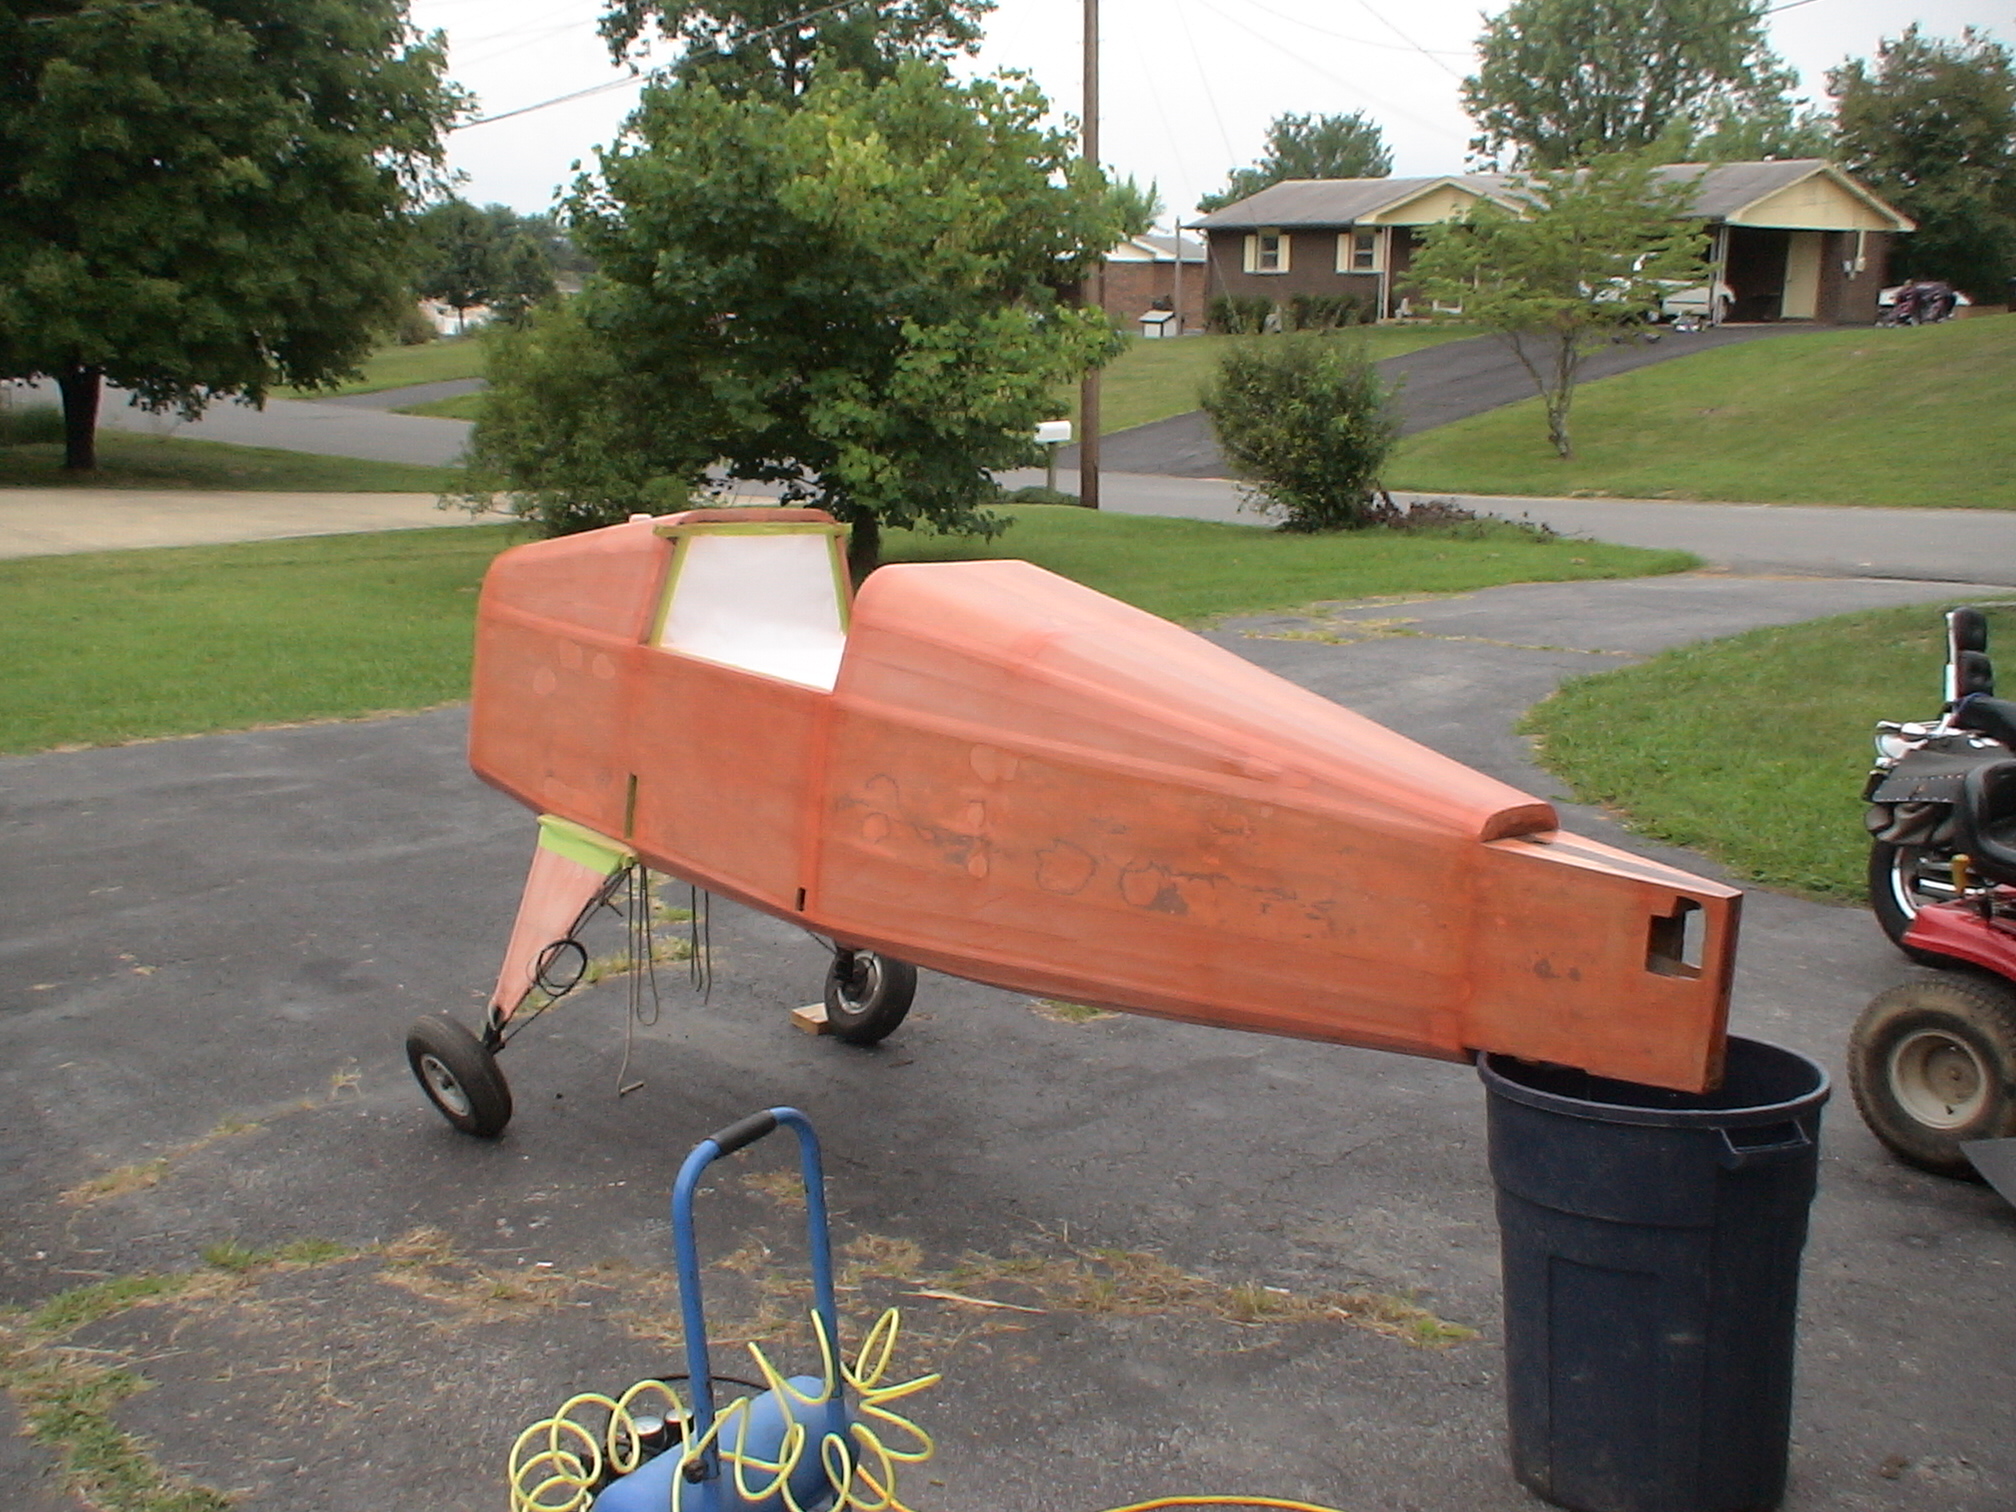
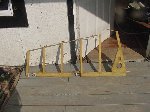
General views of various construction details. |
|
|
|
|
|
Modification
Control for elevator trim tab. |
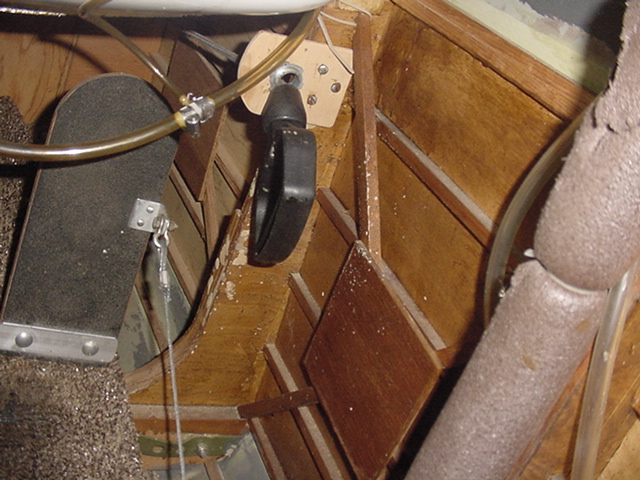
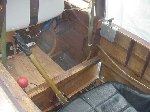
View looking down into cockpit from left side. |
Rudder with fabric removed. Note broken trailing edge between bottom two ribs. |
Rudder with fabric being glued on but not shrunk. |
Vertical Stabilizer with the fabric glued and shrunk. Note the PVC pipe for wiring in a
navigation and/or anti-collision light later. |
|
|
|

|
|
I decided to install the engine in an upright position to eliminate the starting problems I've
had due to oil settling in the plugs. I'm also going to stand it 2" off the firewall to allow room to add an electric starter later. |
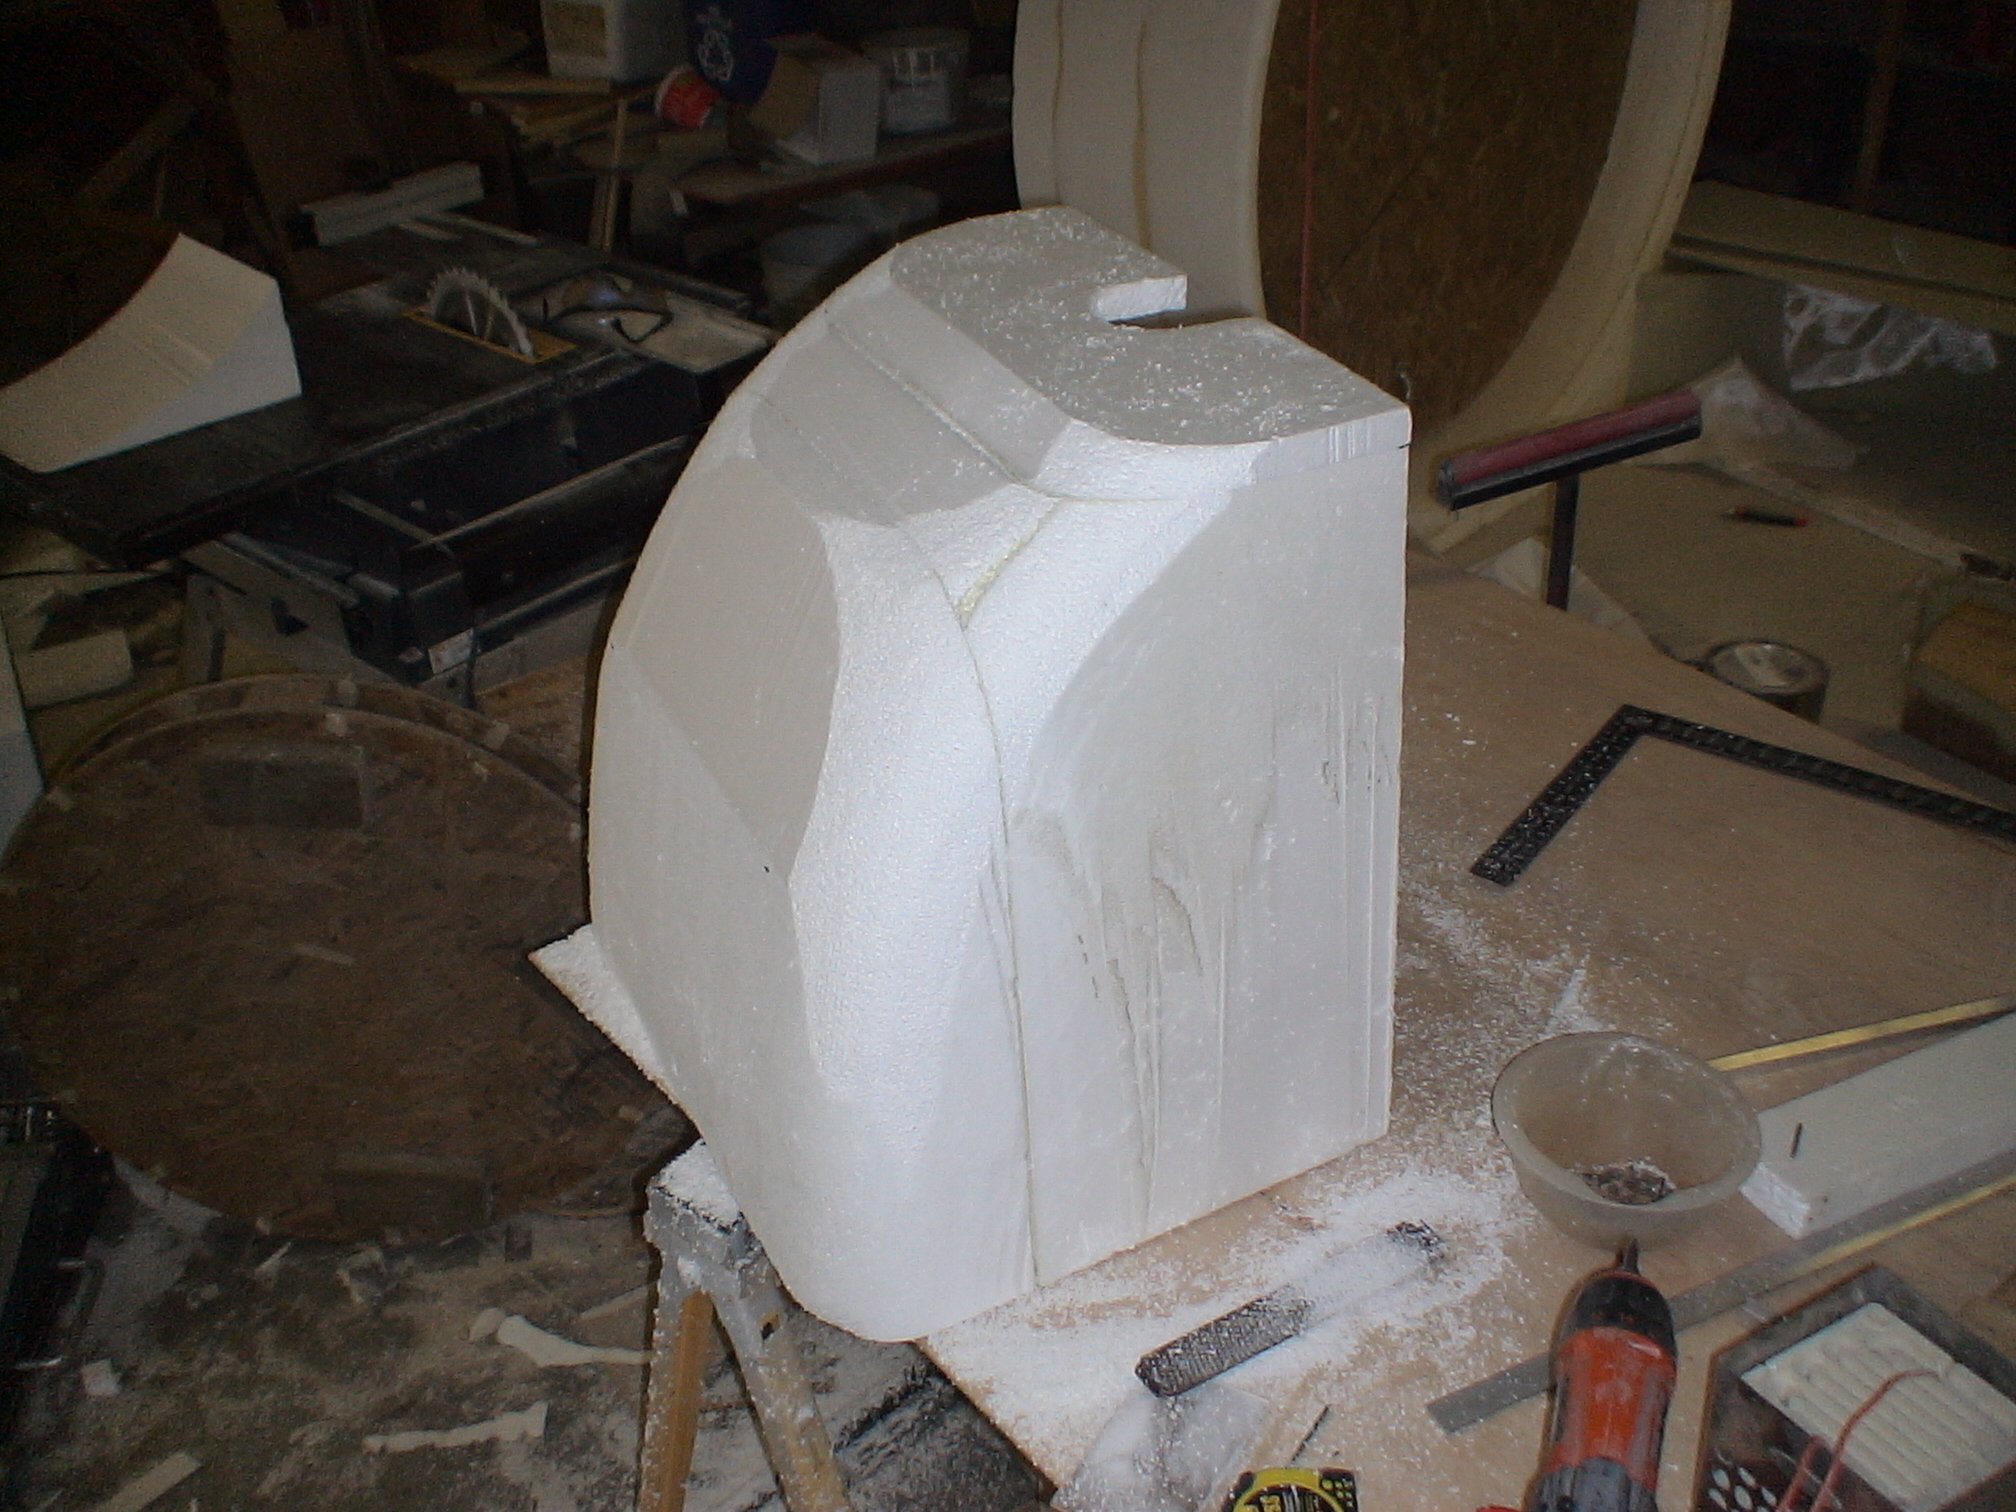
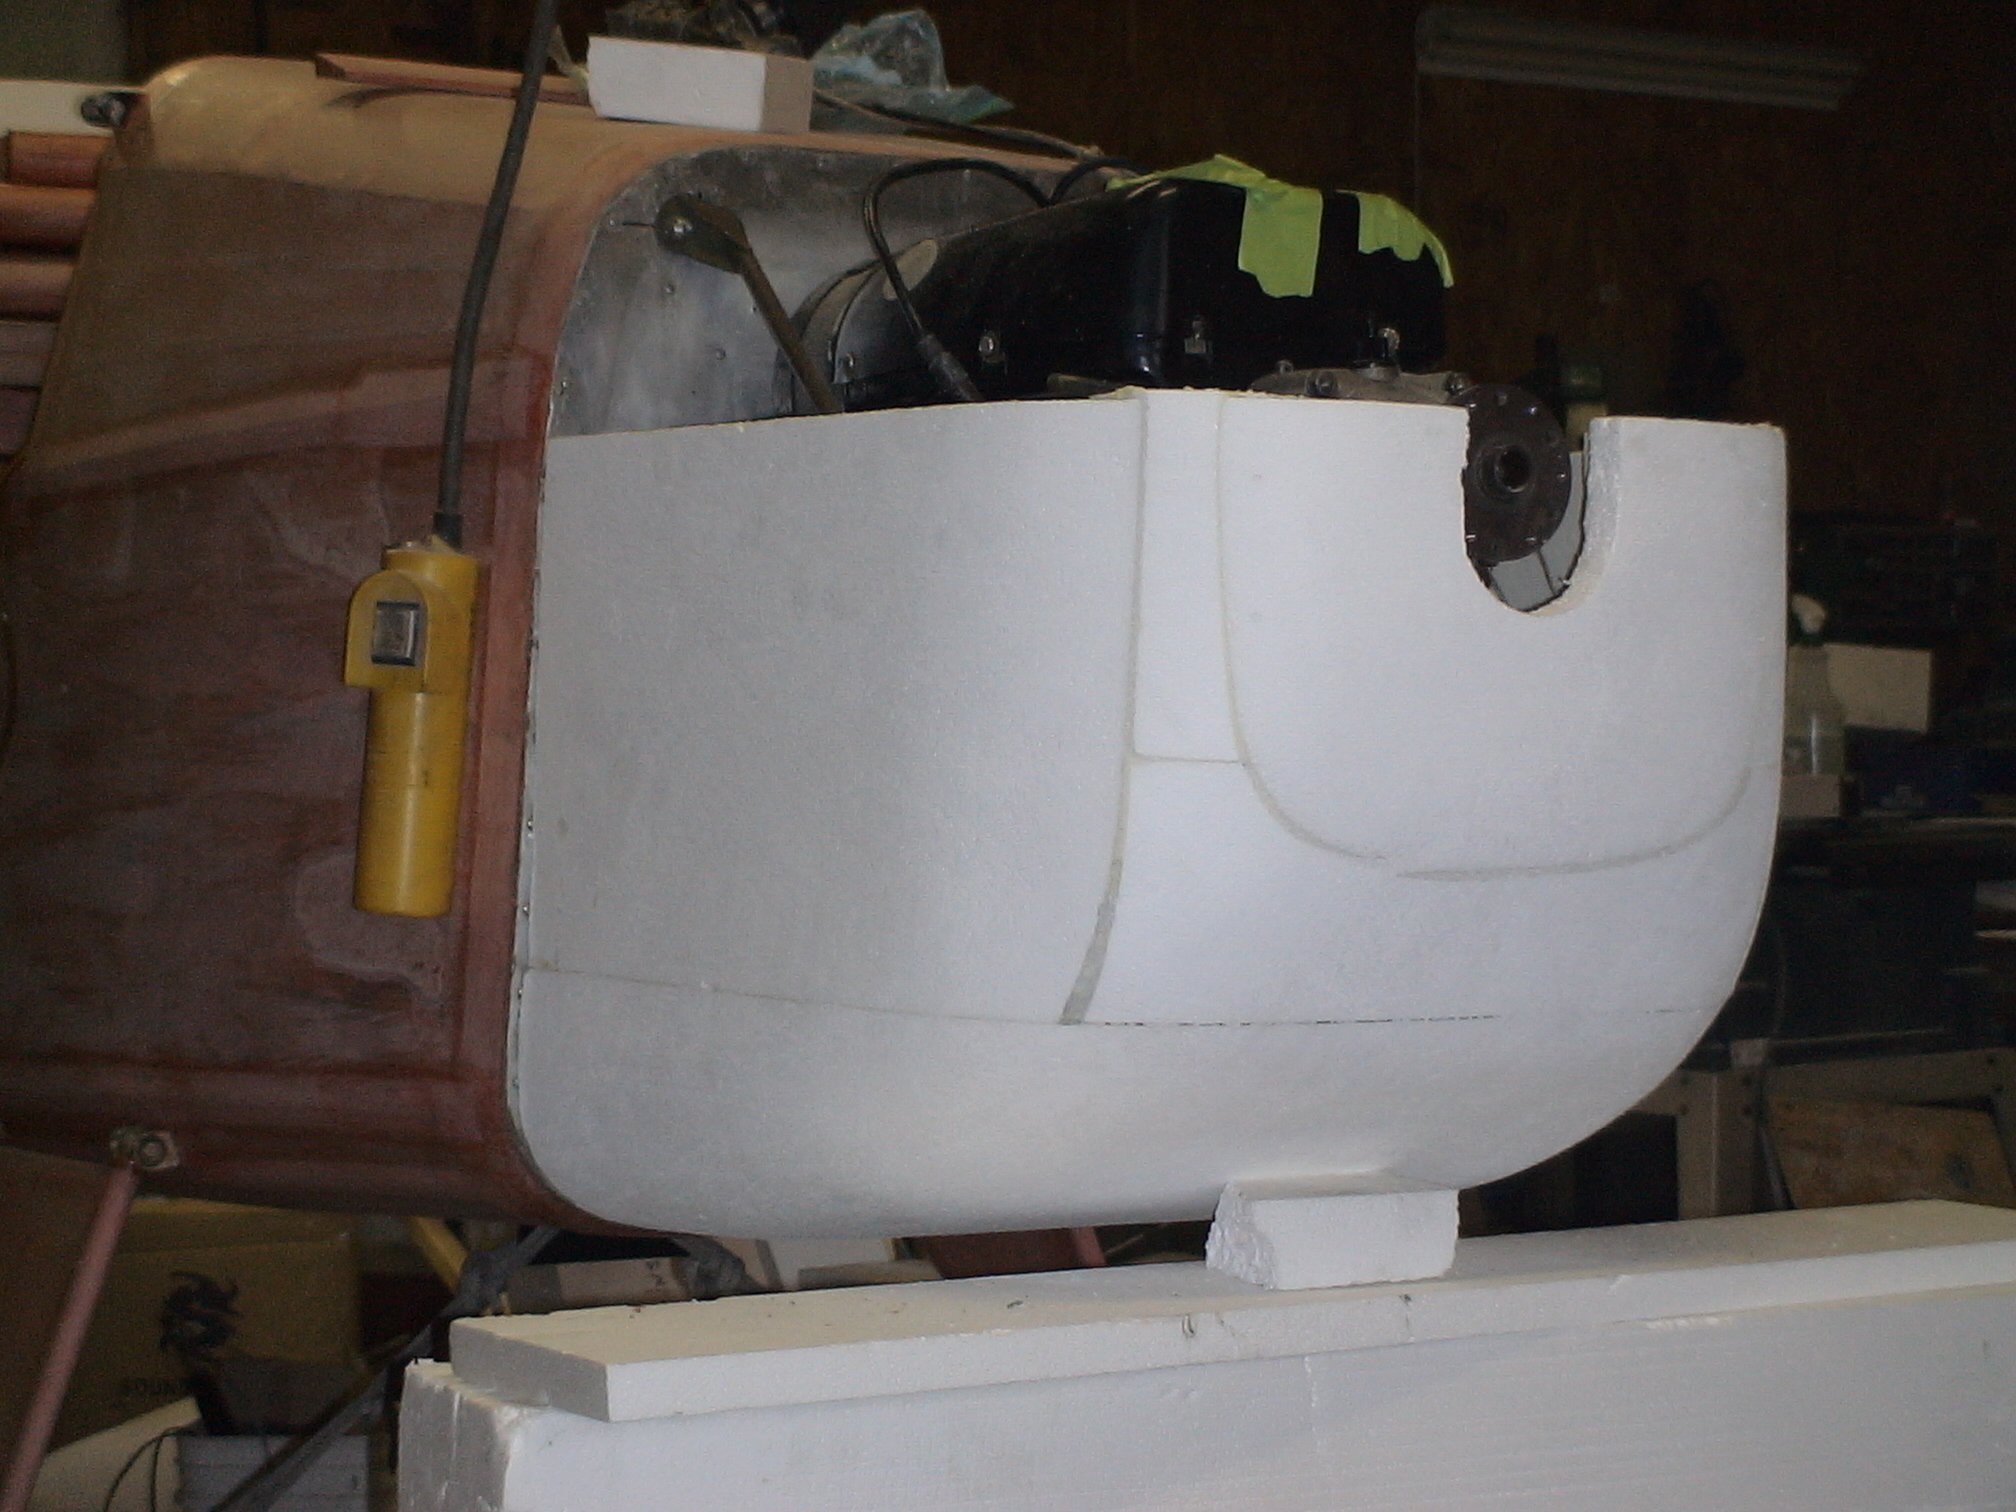
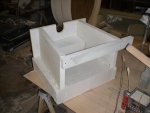
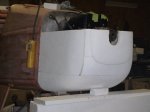
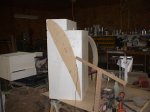
These pictures are the three basic stages of construction of the engine cowl plug. 10 Basic
blocks glued to shape. 2) Rough shaping with hotwire and coarse file. 3) Final plug after more filing and finish sanding. |
|
|
|

|
|
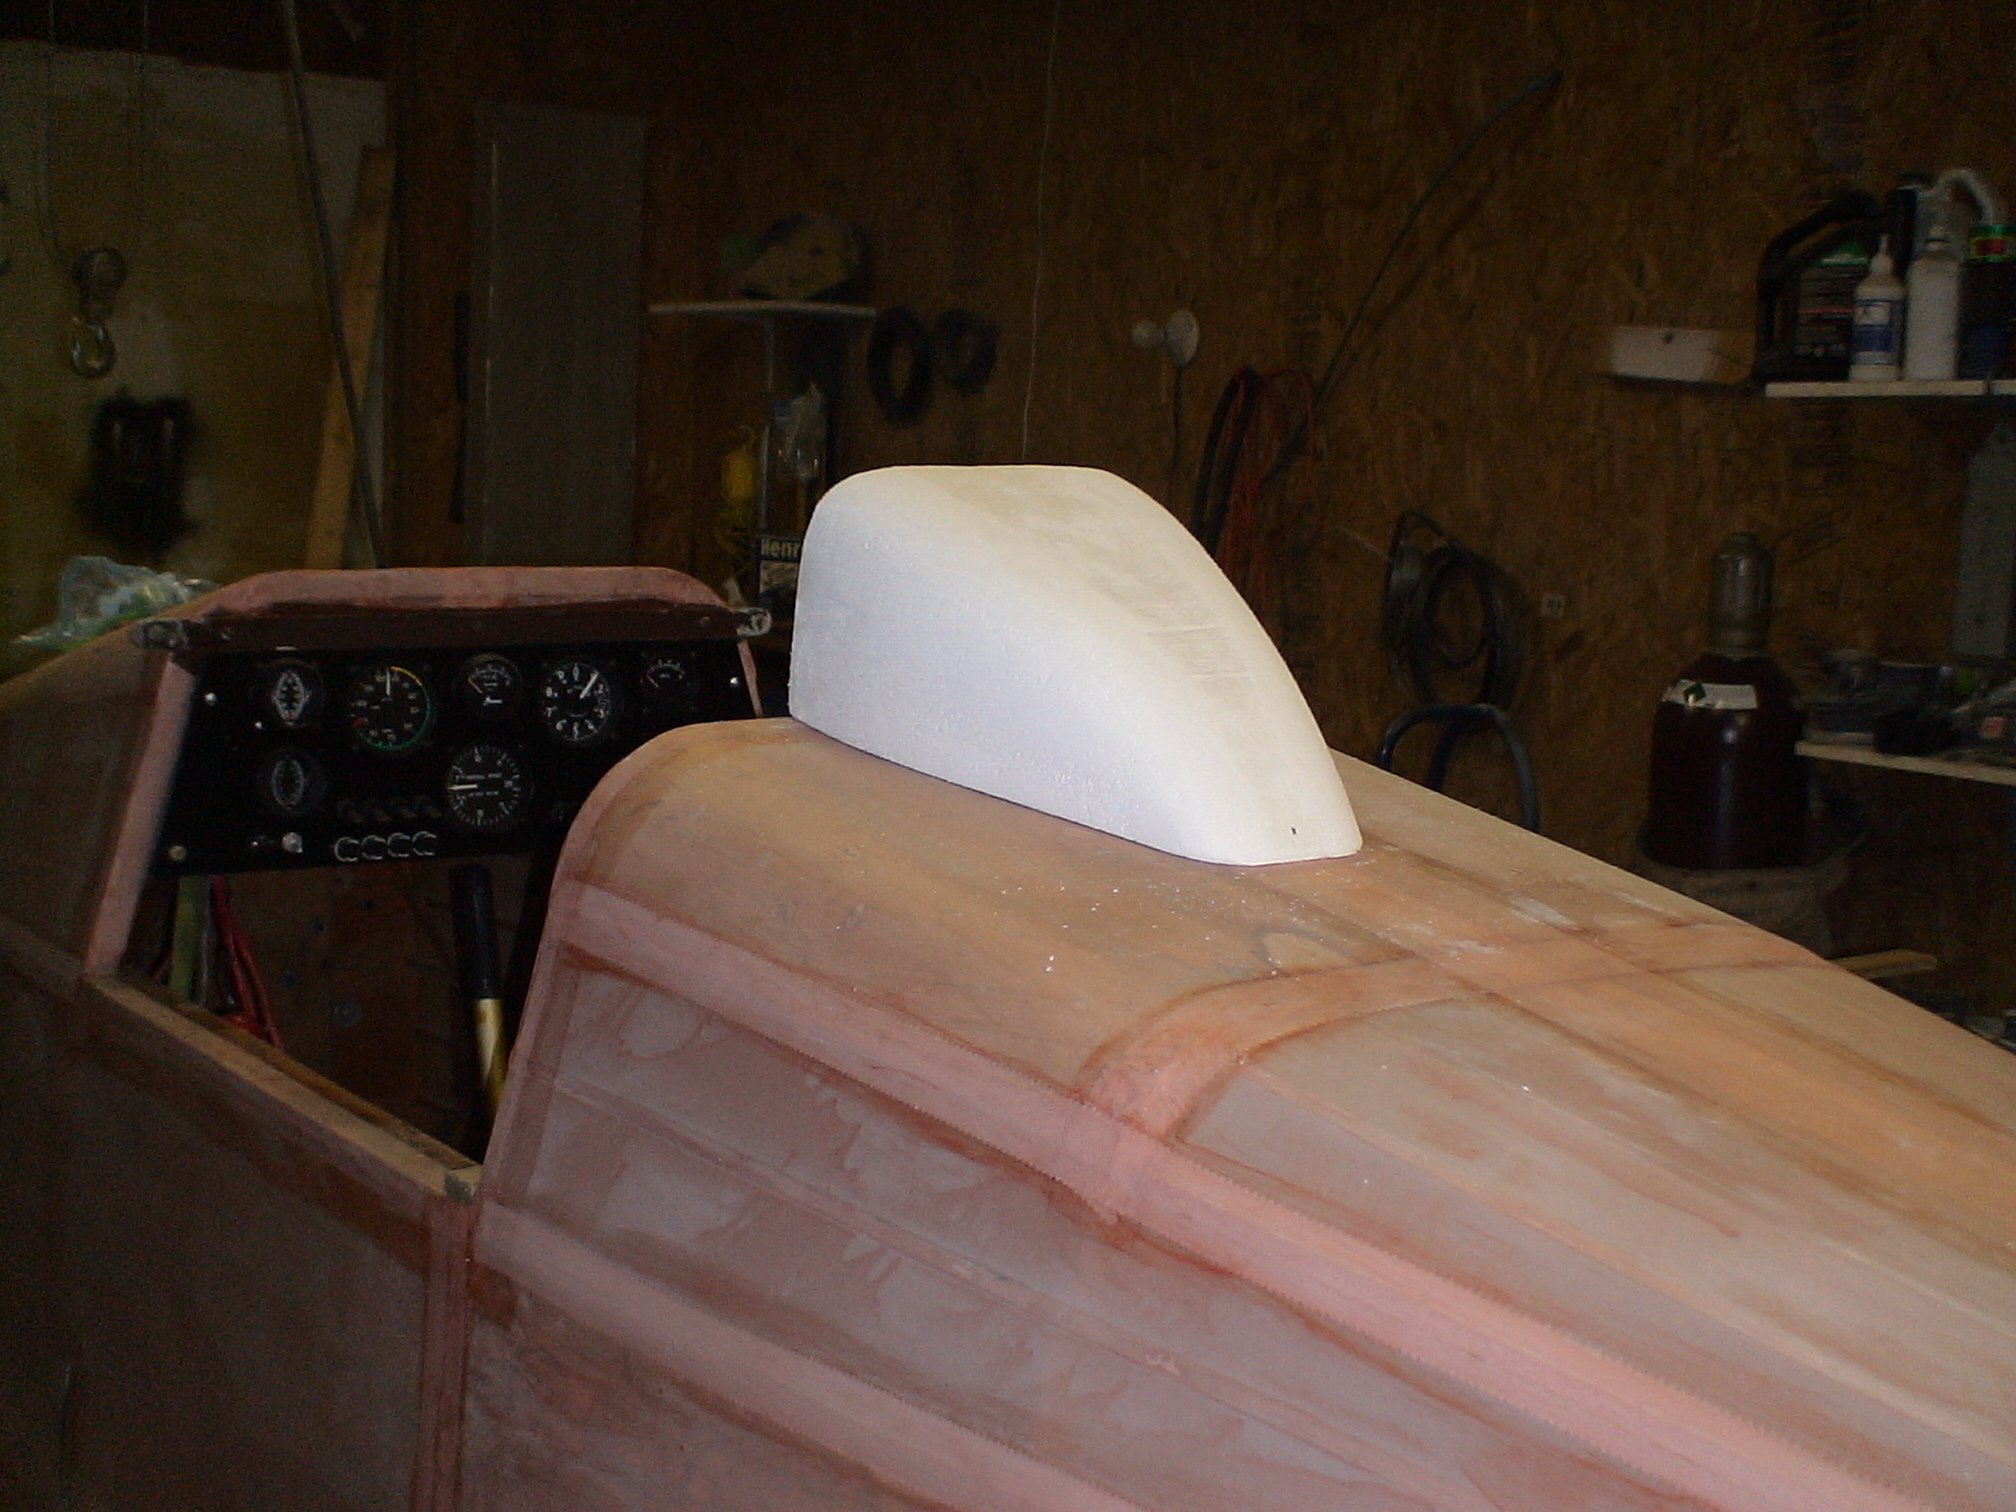
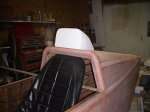
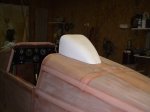
I wanted a headrest for comfort as well as safety. I will add a foam pad to the front and cover it
with black vinyl. |
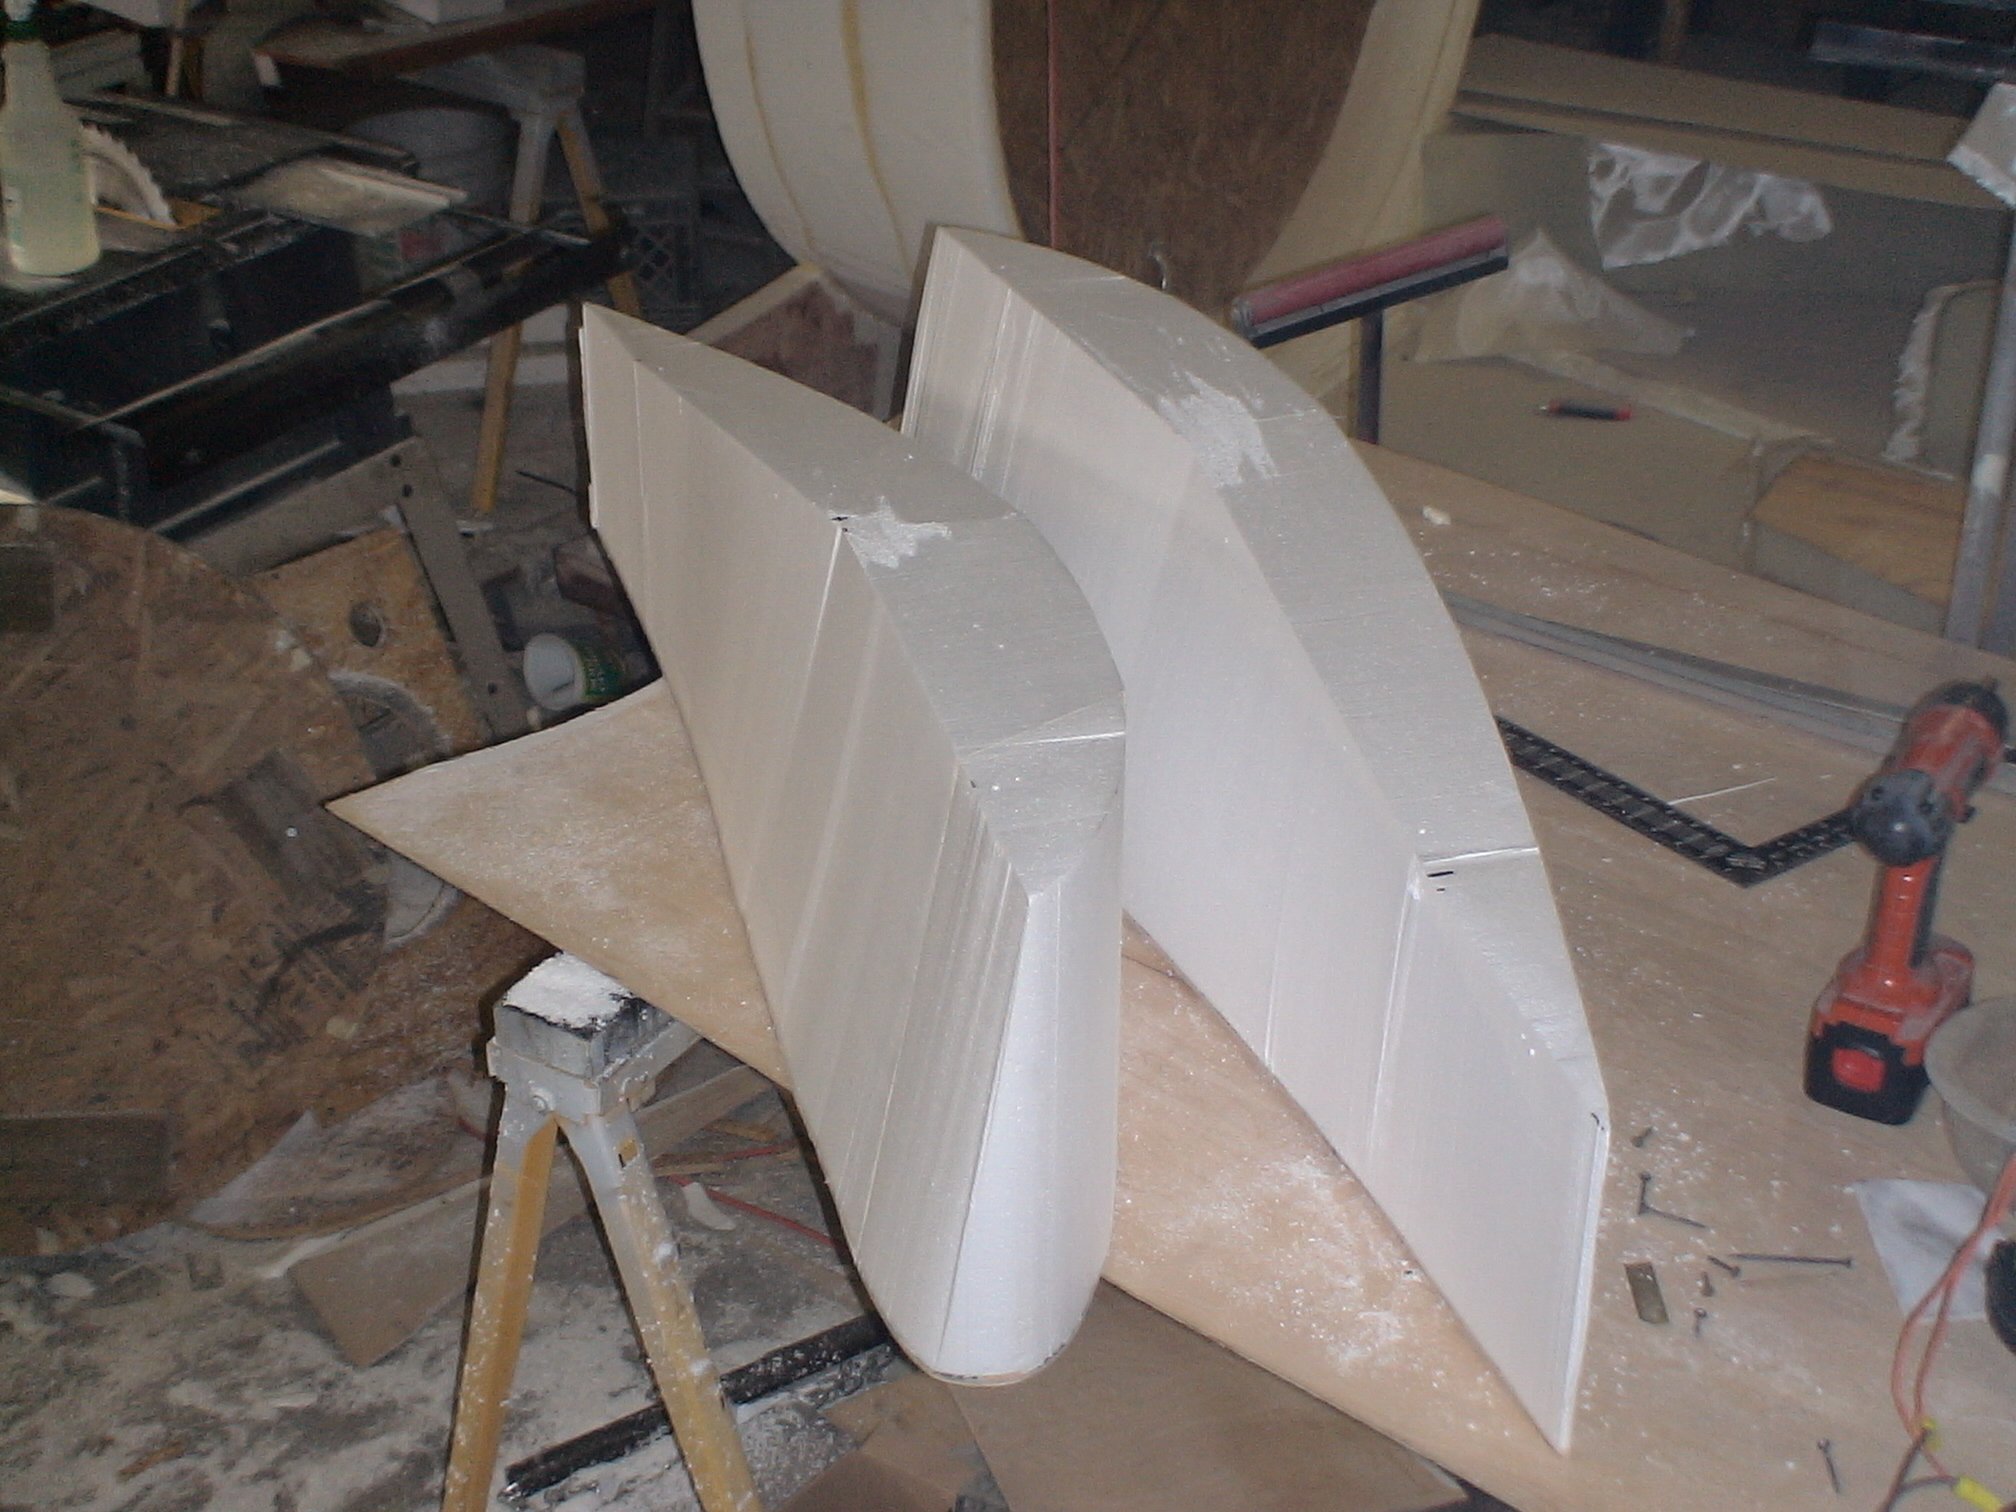
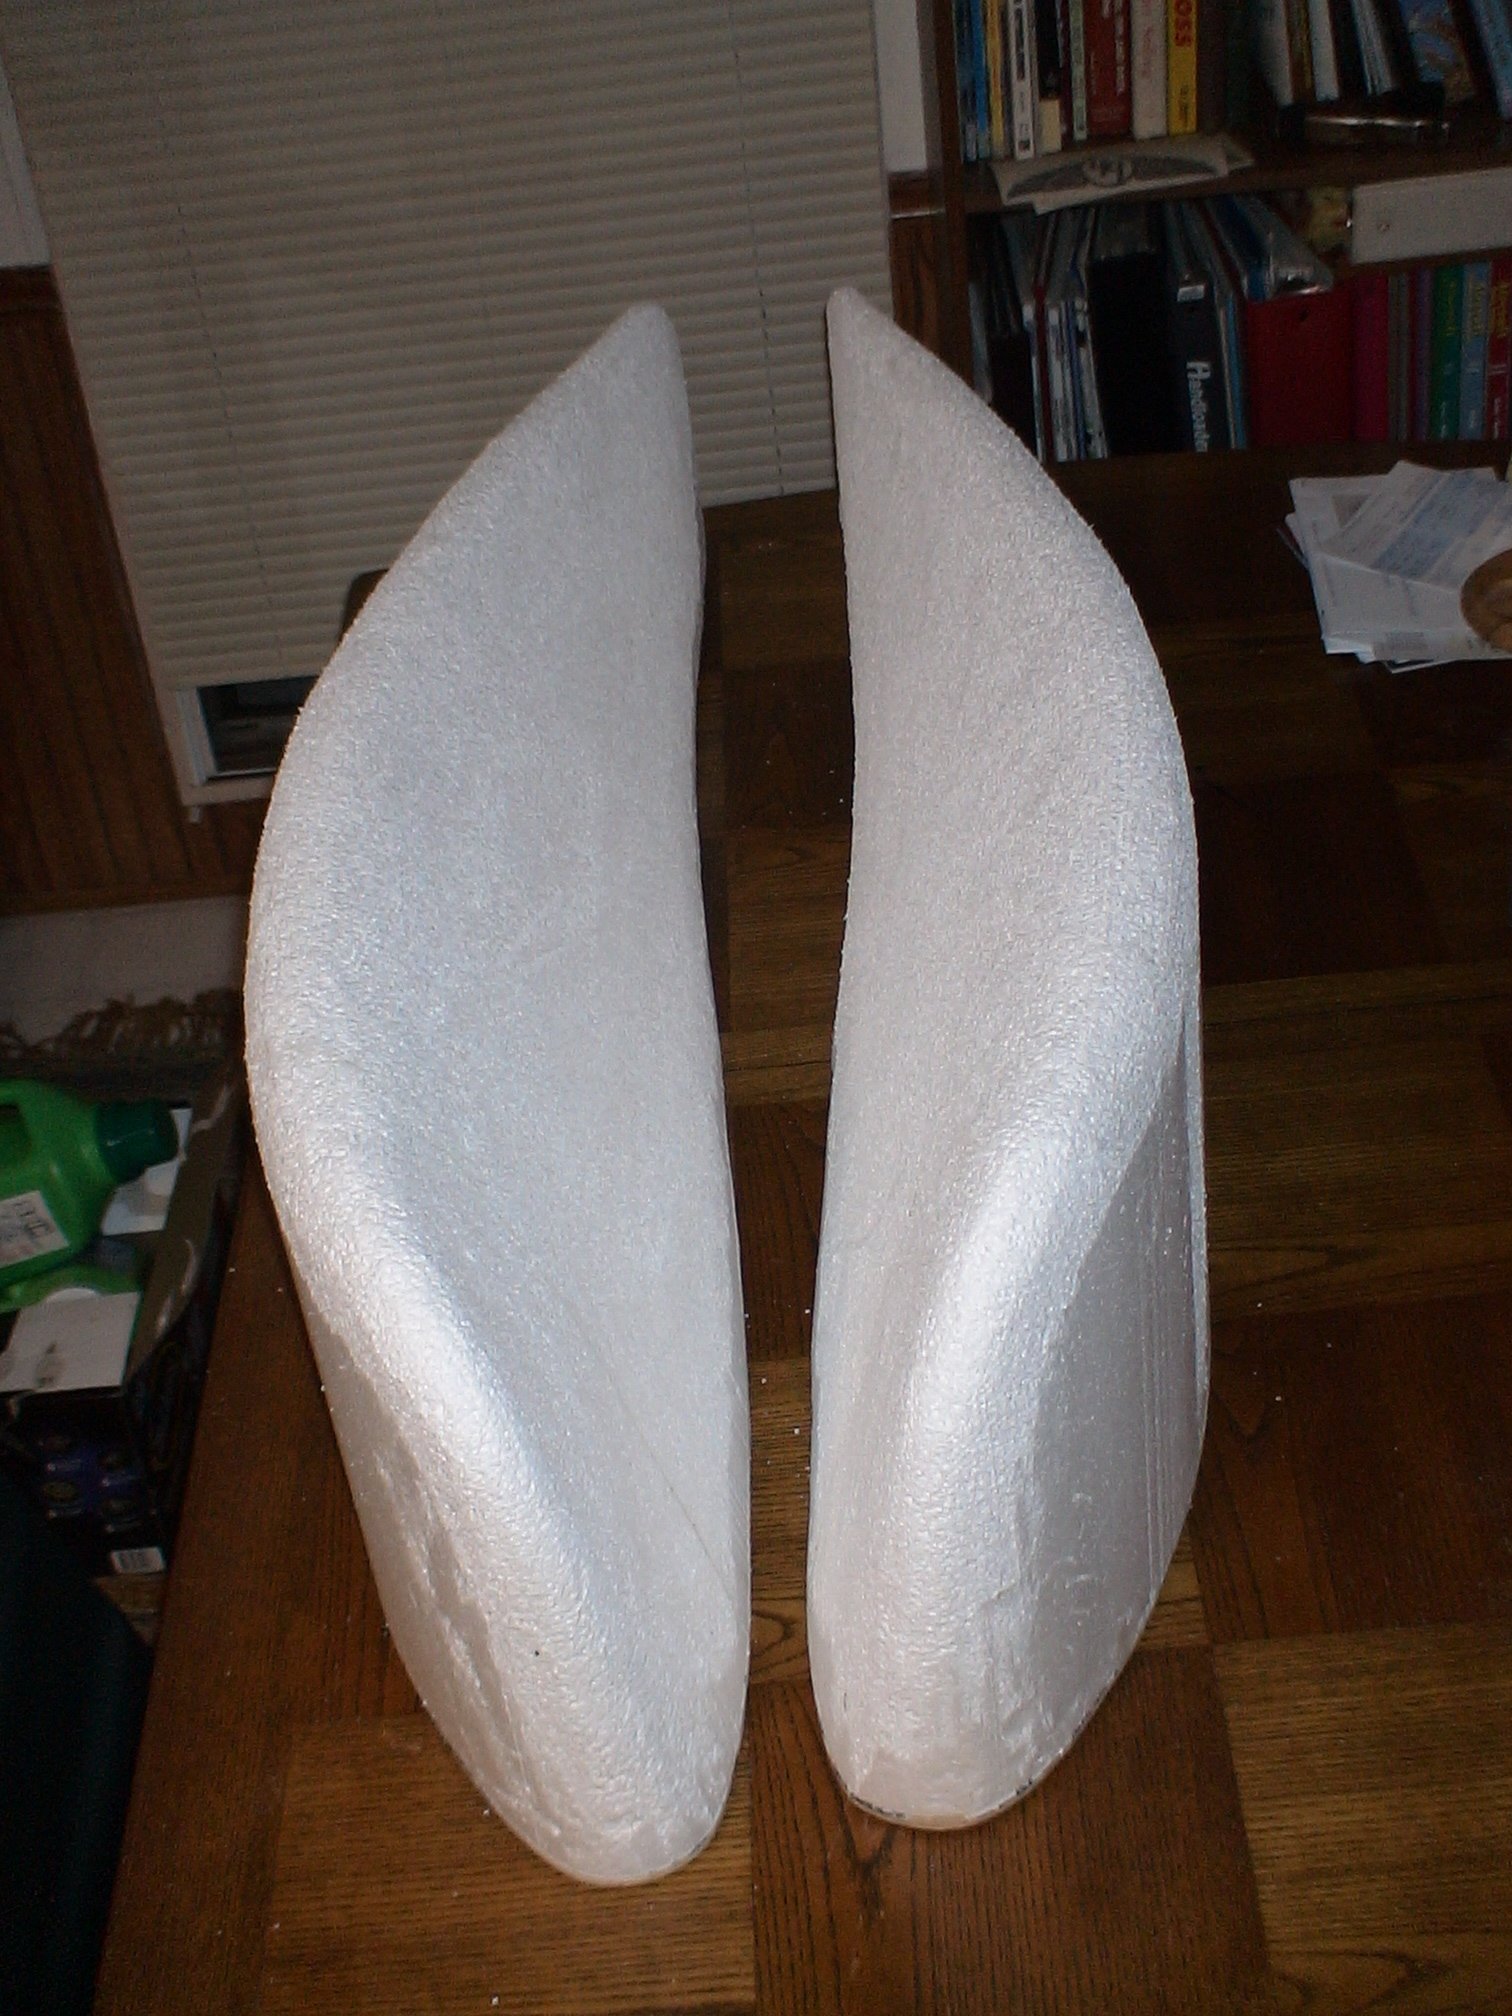
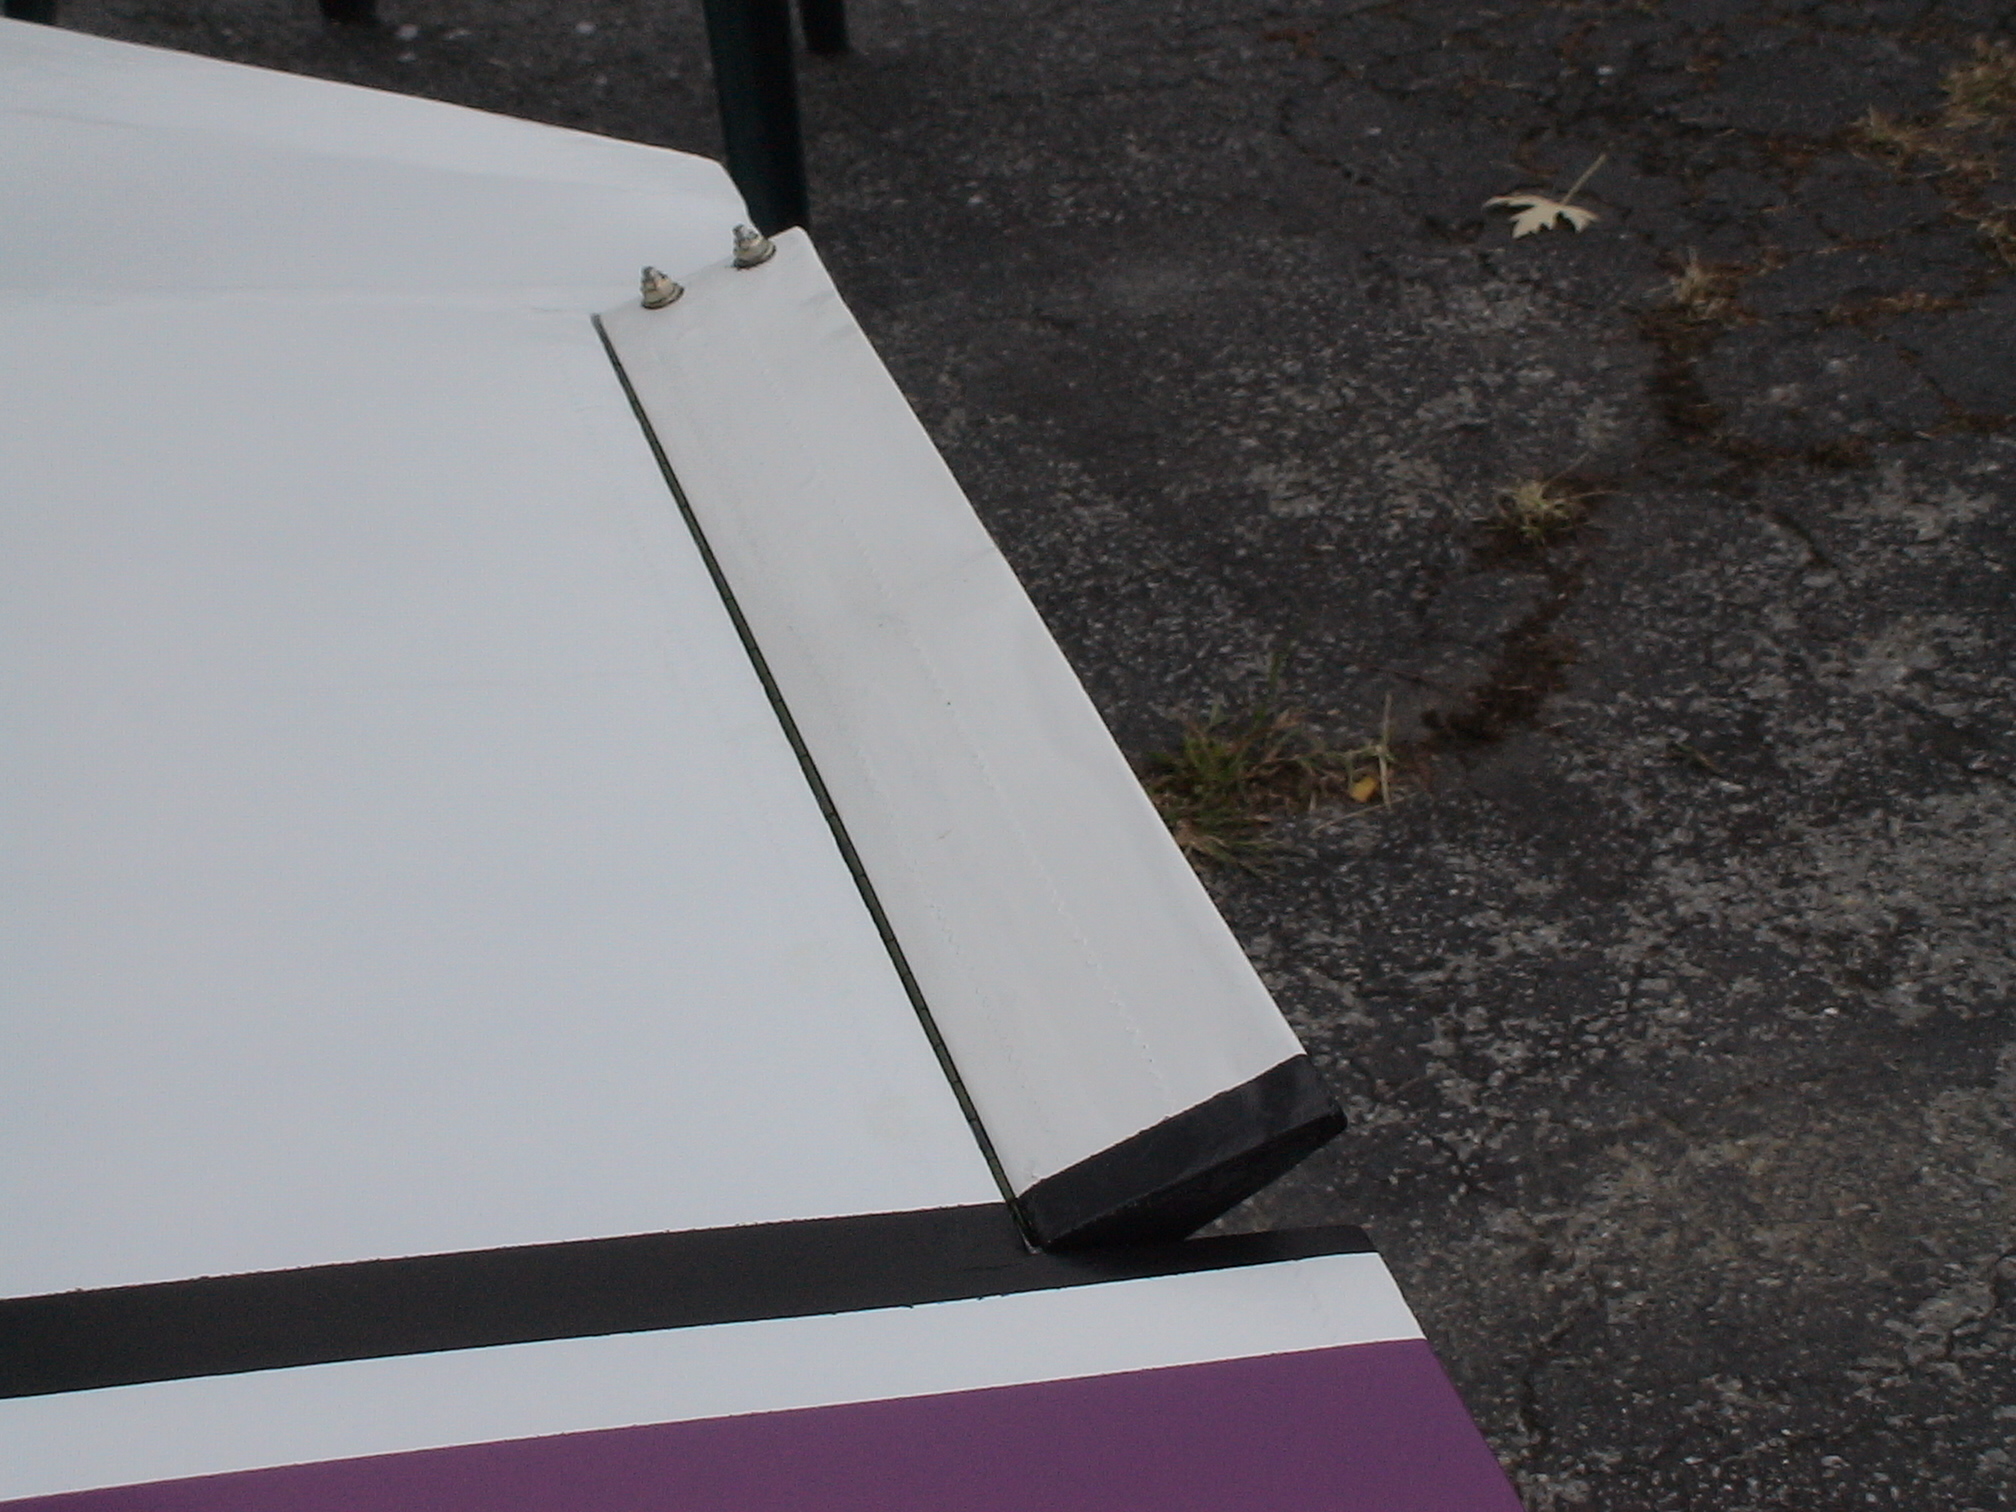
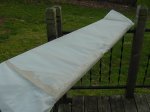
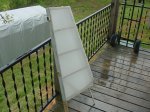
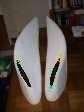
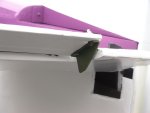
I want some wingtips to help reduce drag, increase lift and just generally improve the appearance of
the wings. Hopefully these will do the trick. |

|

|
|
|
|
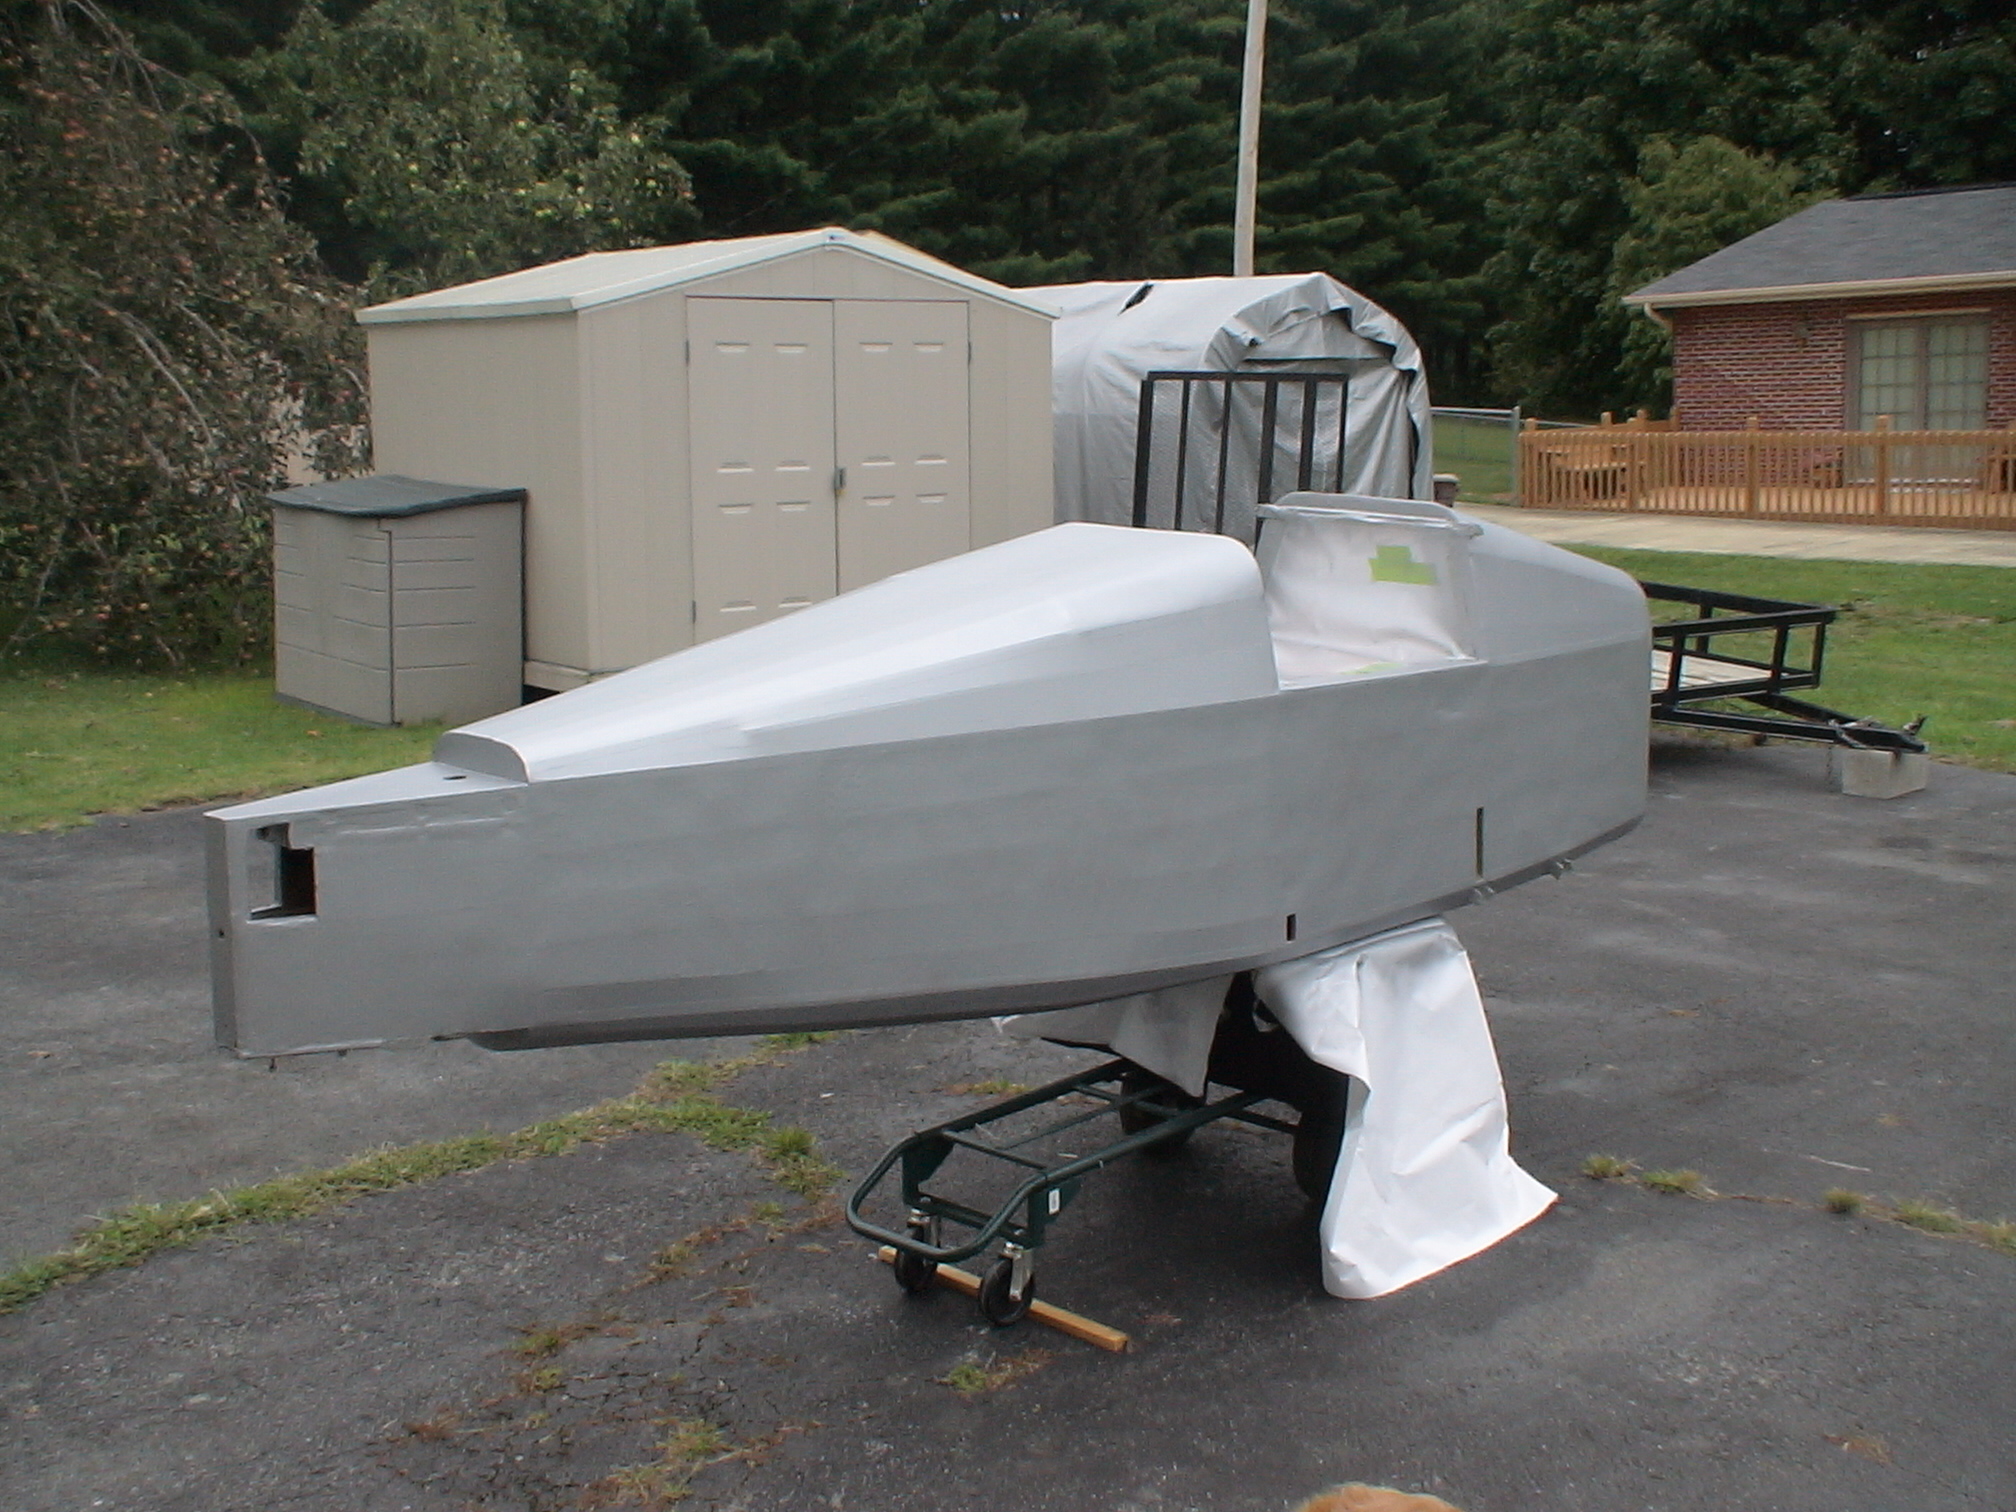
Poly-Brush complete and ready for Poly-Spray. |
Poly-Spray (silver UV coating) complete and ready for paint. |
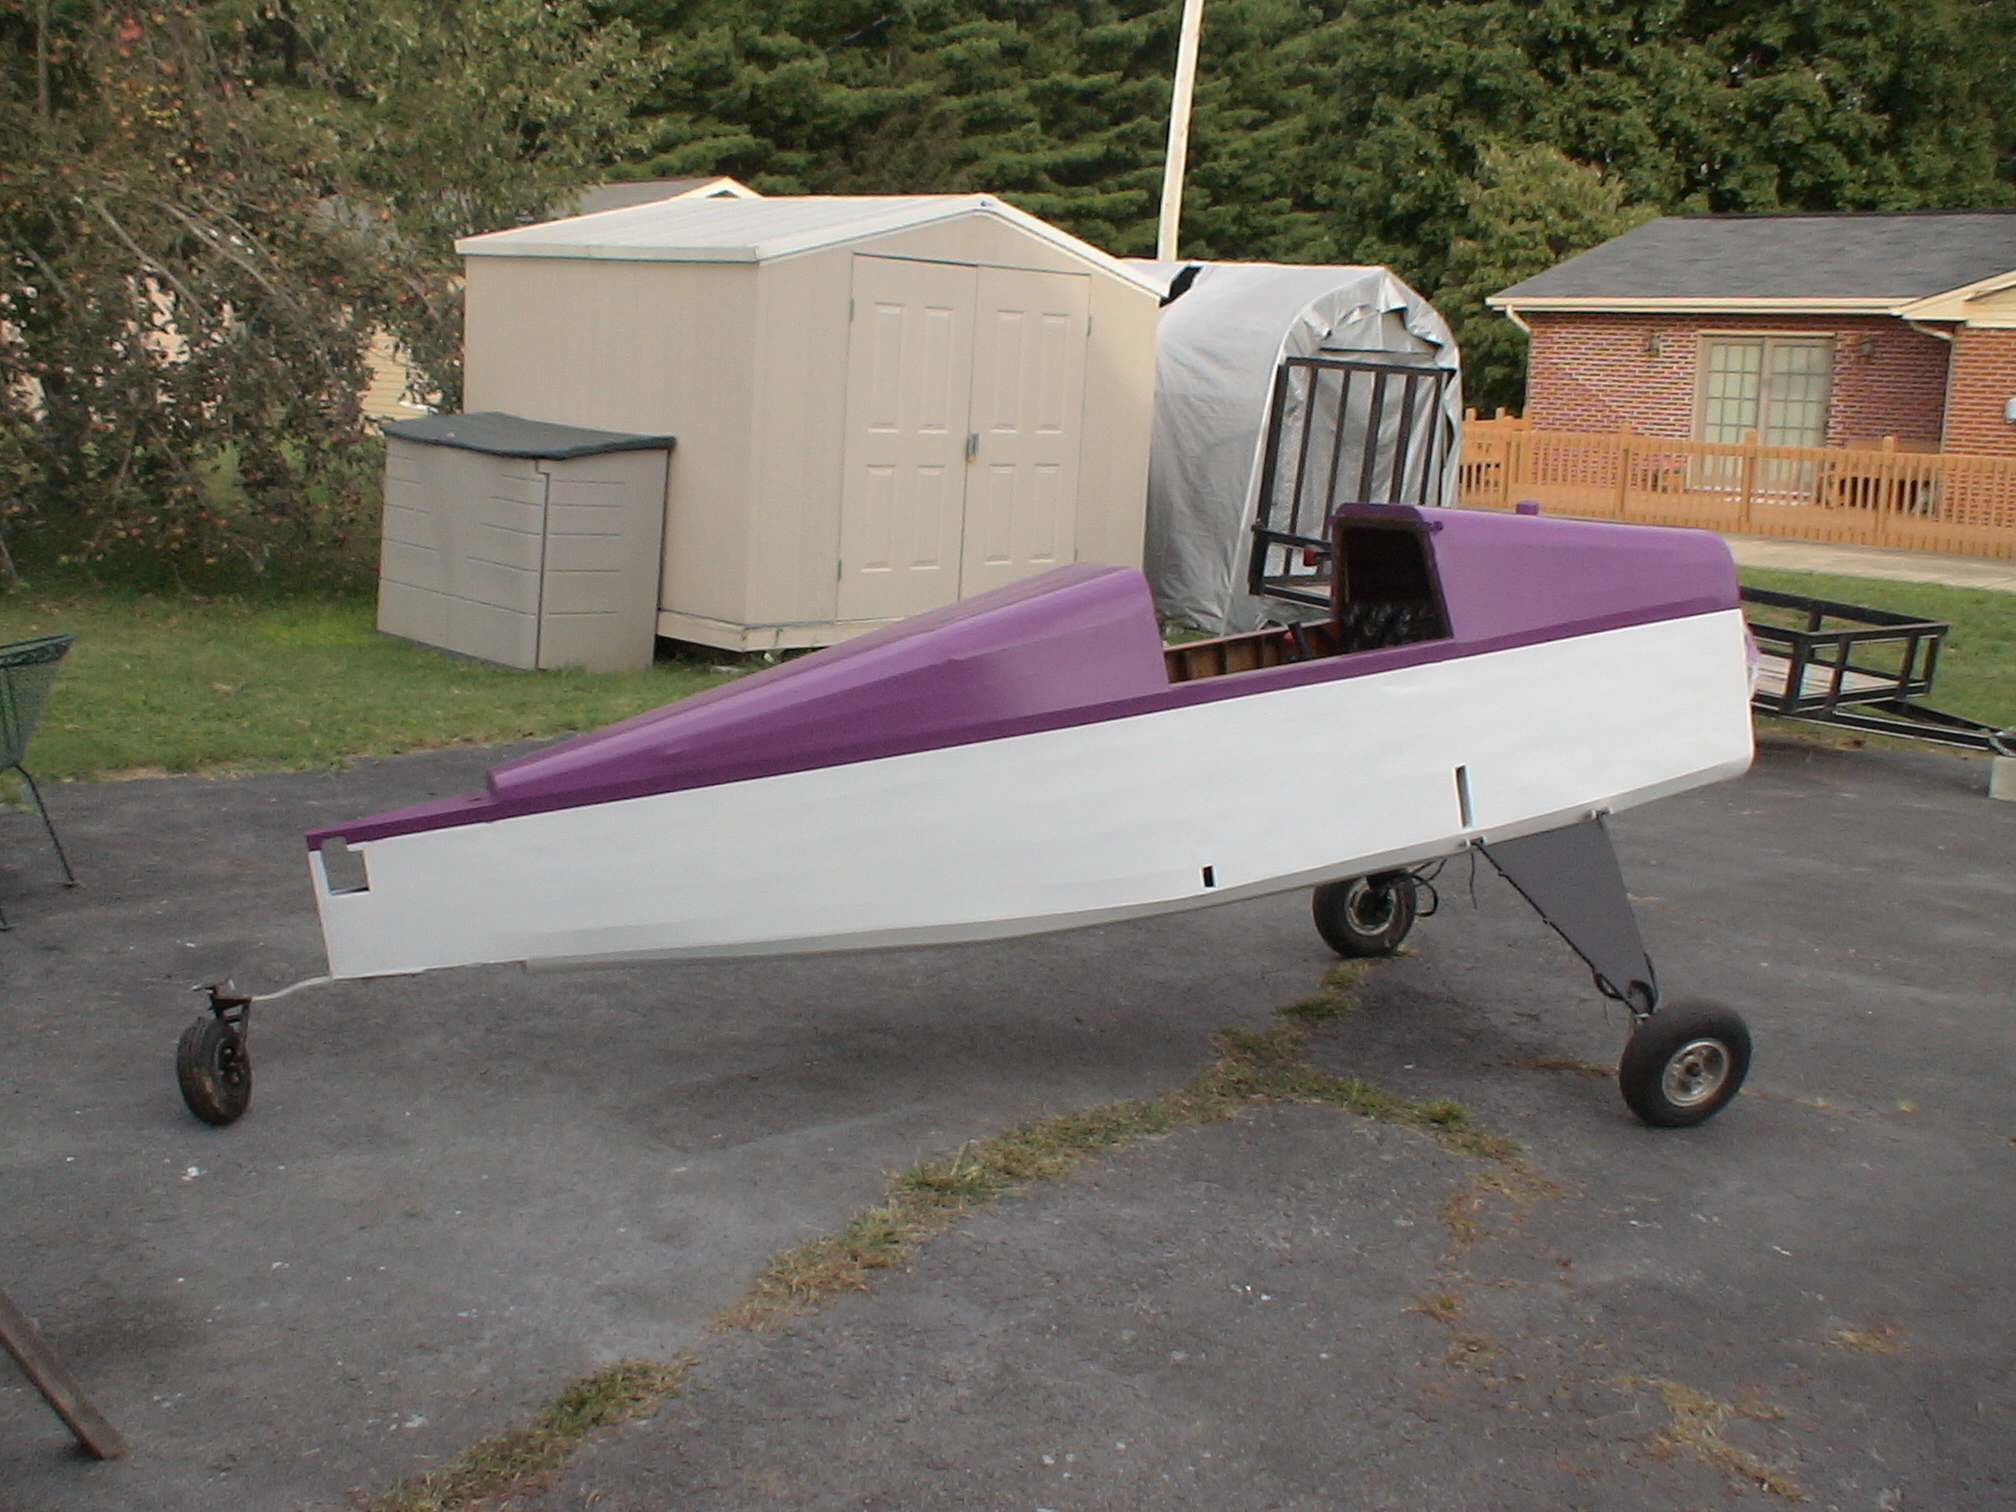
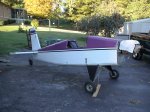
Poly-Tone white complete. |
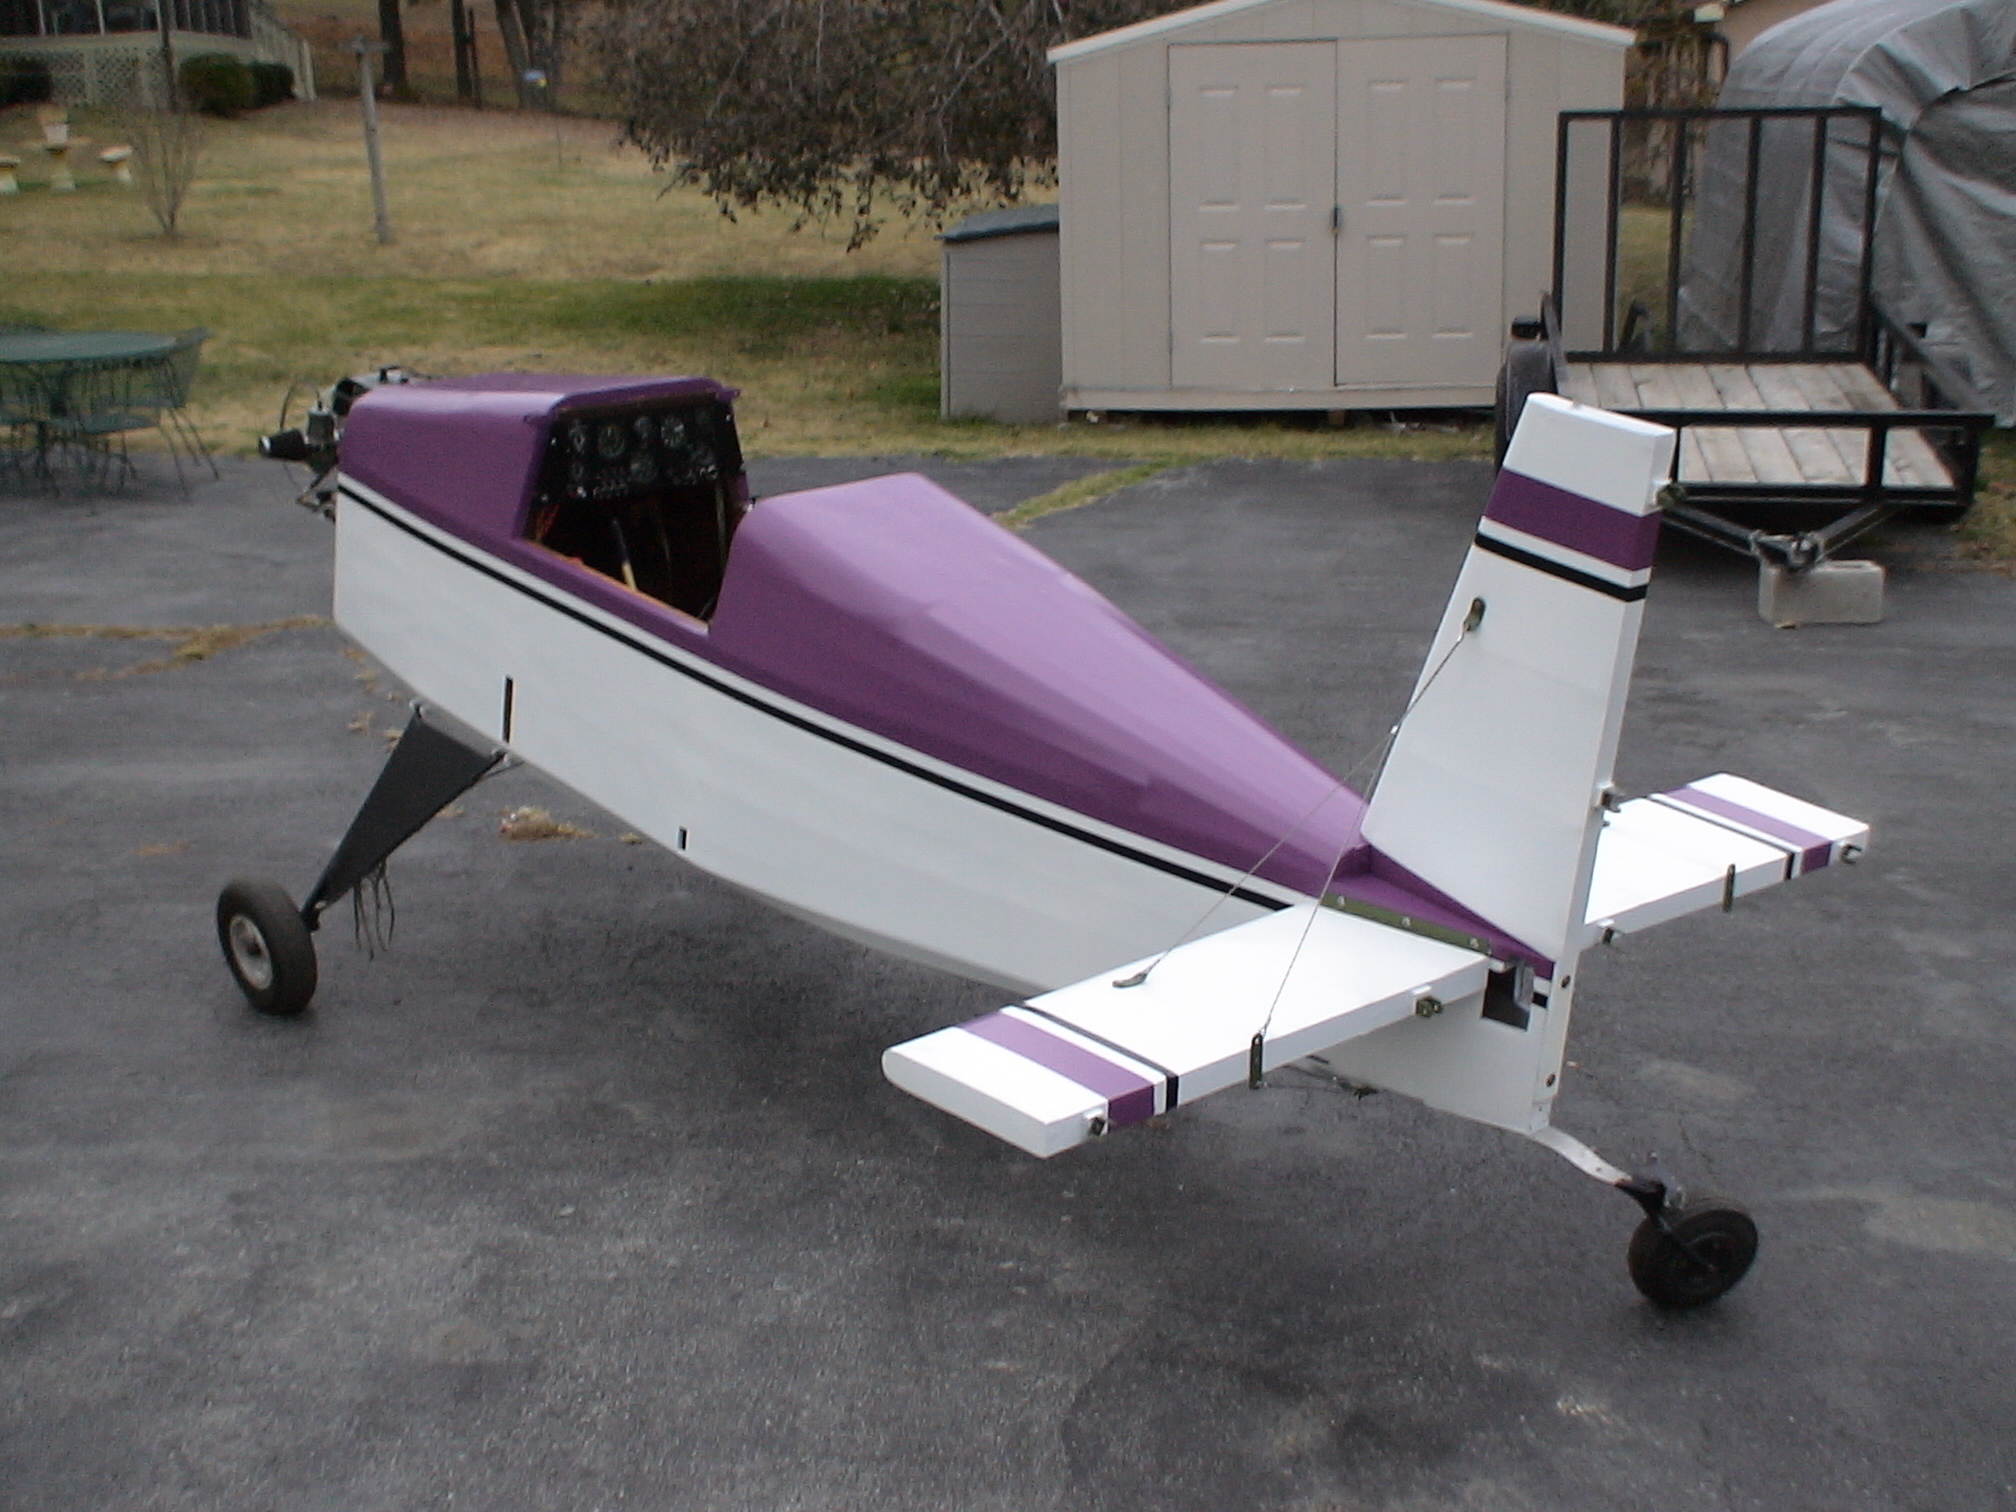
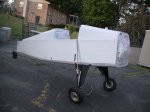
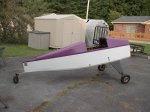
Purple and black accent stripe on fuselage and tail. Its finally starting to look more like a real
airplane. |

|

|
|

|
|
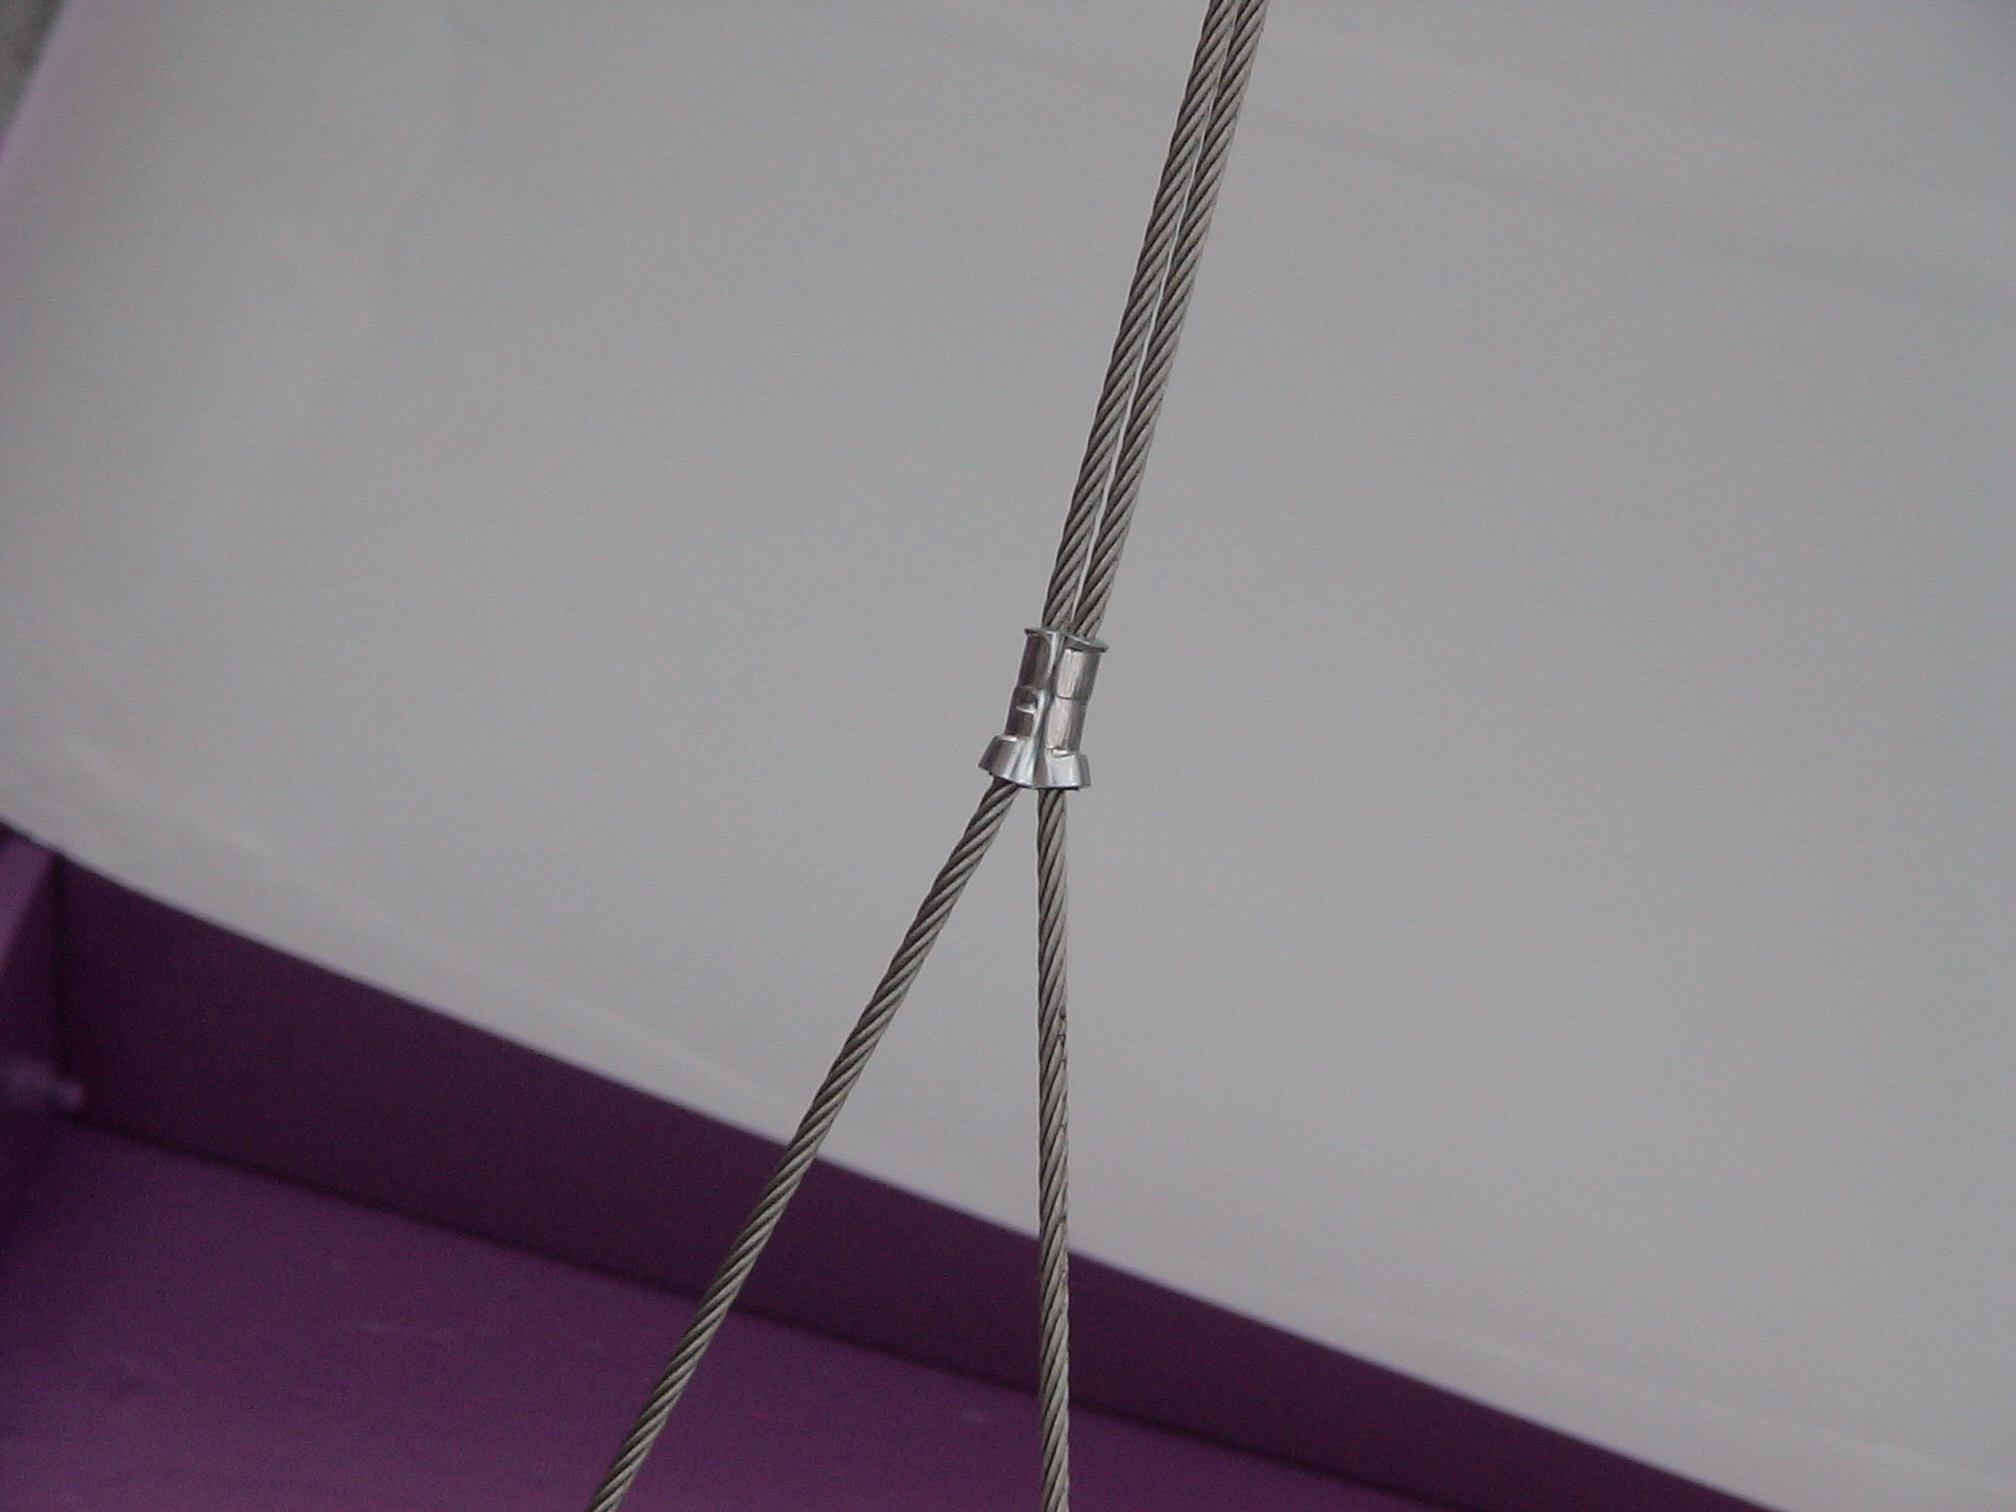
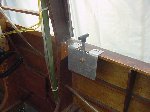
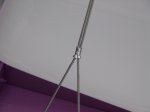
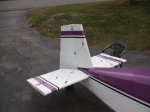
Installing the horizontal and vertical stabilizers. The support cables are installed, adjusted and tensioned.
Leaving a slight flare is the best way to crimp the nicopress fitting that tensions the cables so they aren't bent around a hard corner. |
The elevator and rudder are installed with temporary hinge bolts to check the fit. |
|
|
|
|
|
I decided to use a cable casing from the rear of the fuselage to the floorboards for the rudder cables. I held
the casing in place with cloth patches and Poly-Tak cement, applied Poly-Brush, Poly-Spray and Poly-Tone. |
|
|
|
|
|
|
|
|
The trim tab from covering to installation. The control bracket is installed on the bottom of the trim tab. The
control cable still needs to be routed. |
|
|
| |
|
|
|
|
| |
|
|
|
|
Updated |
11/08/2008 |
|
|
|